


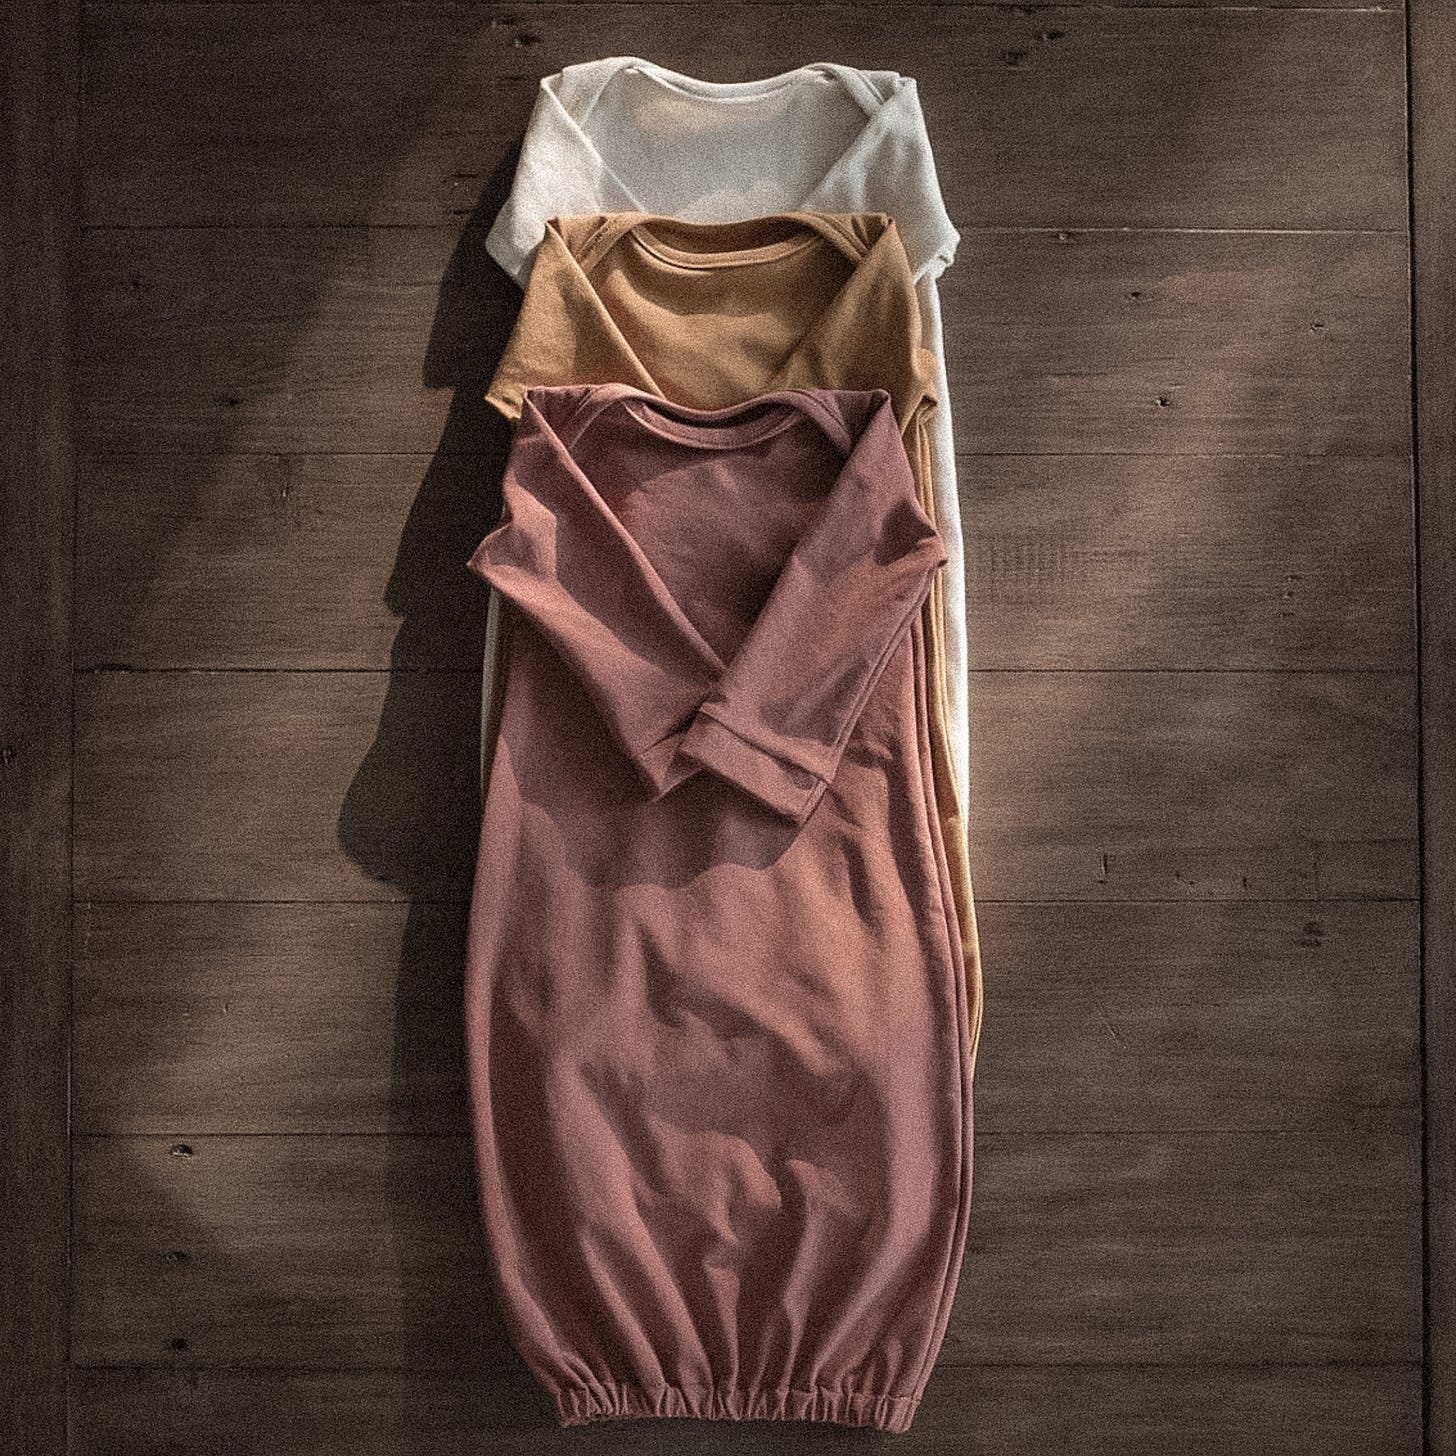
A Newborn Sleep Gown Pattern
for the special babies in your life

When I was pregnant with our fifth baby, Hazel, I was determined to find the perfect newborn sleeper. I knew I wanted something in a soft cotton without snaps, just a simple design to keep those middle-of-the-night diaper changes as quiet and easy as possible. I found a few boutique gowns I loved, but they were pricey.
So I decided to design my own. After many iterations and a lot of trial and error, I finally landed on the gown I had been imagining all along. I’ve made it dozens of times since, for my own babies and for friends. And it only takes about an hour to make! I wanted to share it here, where I can more easily host the PDF pattern.
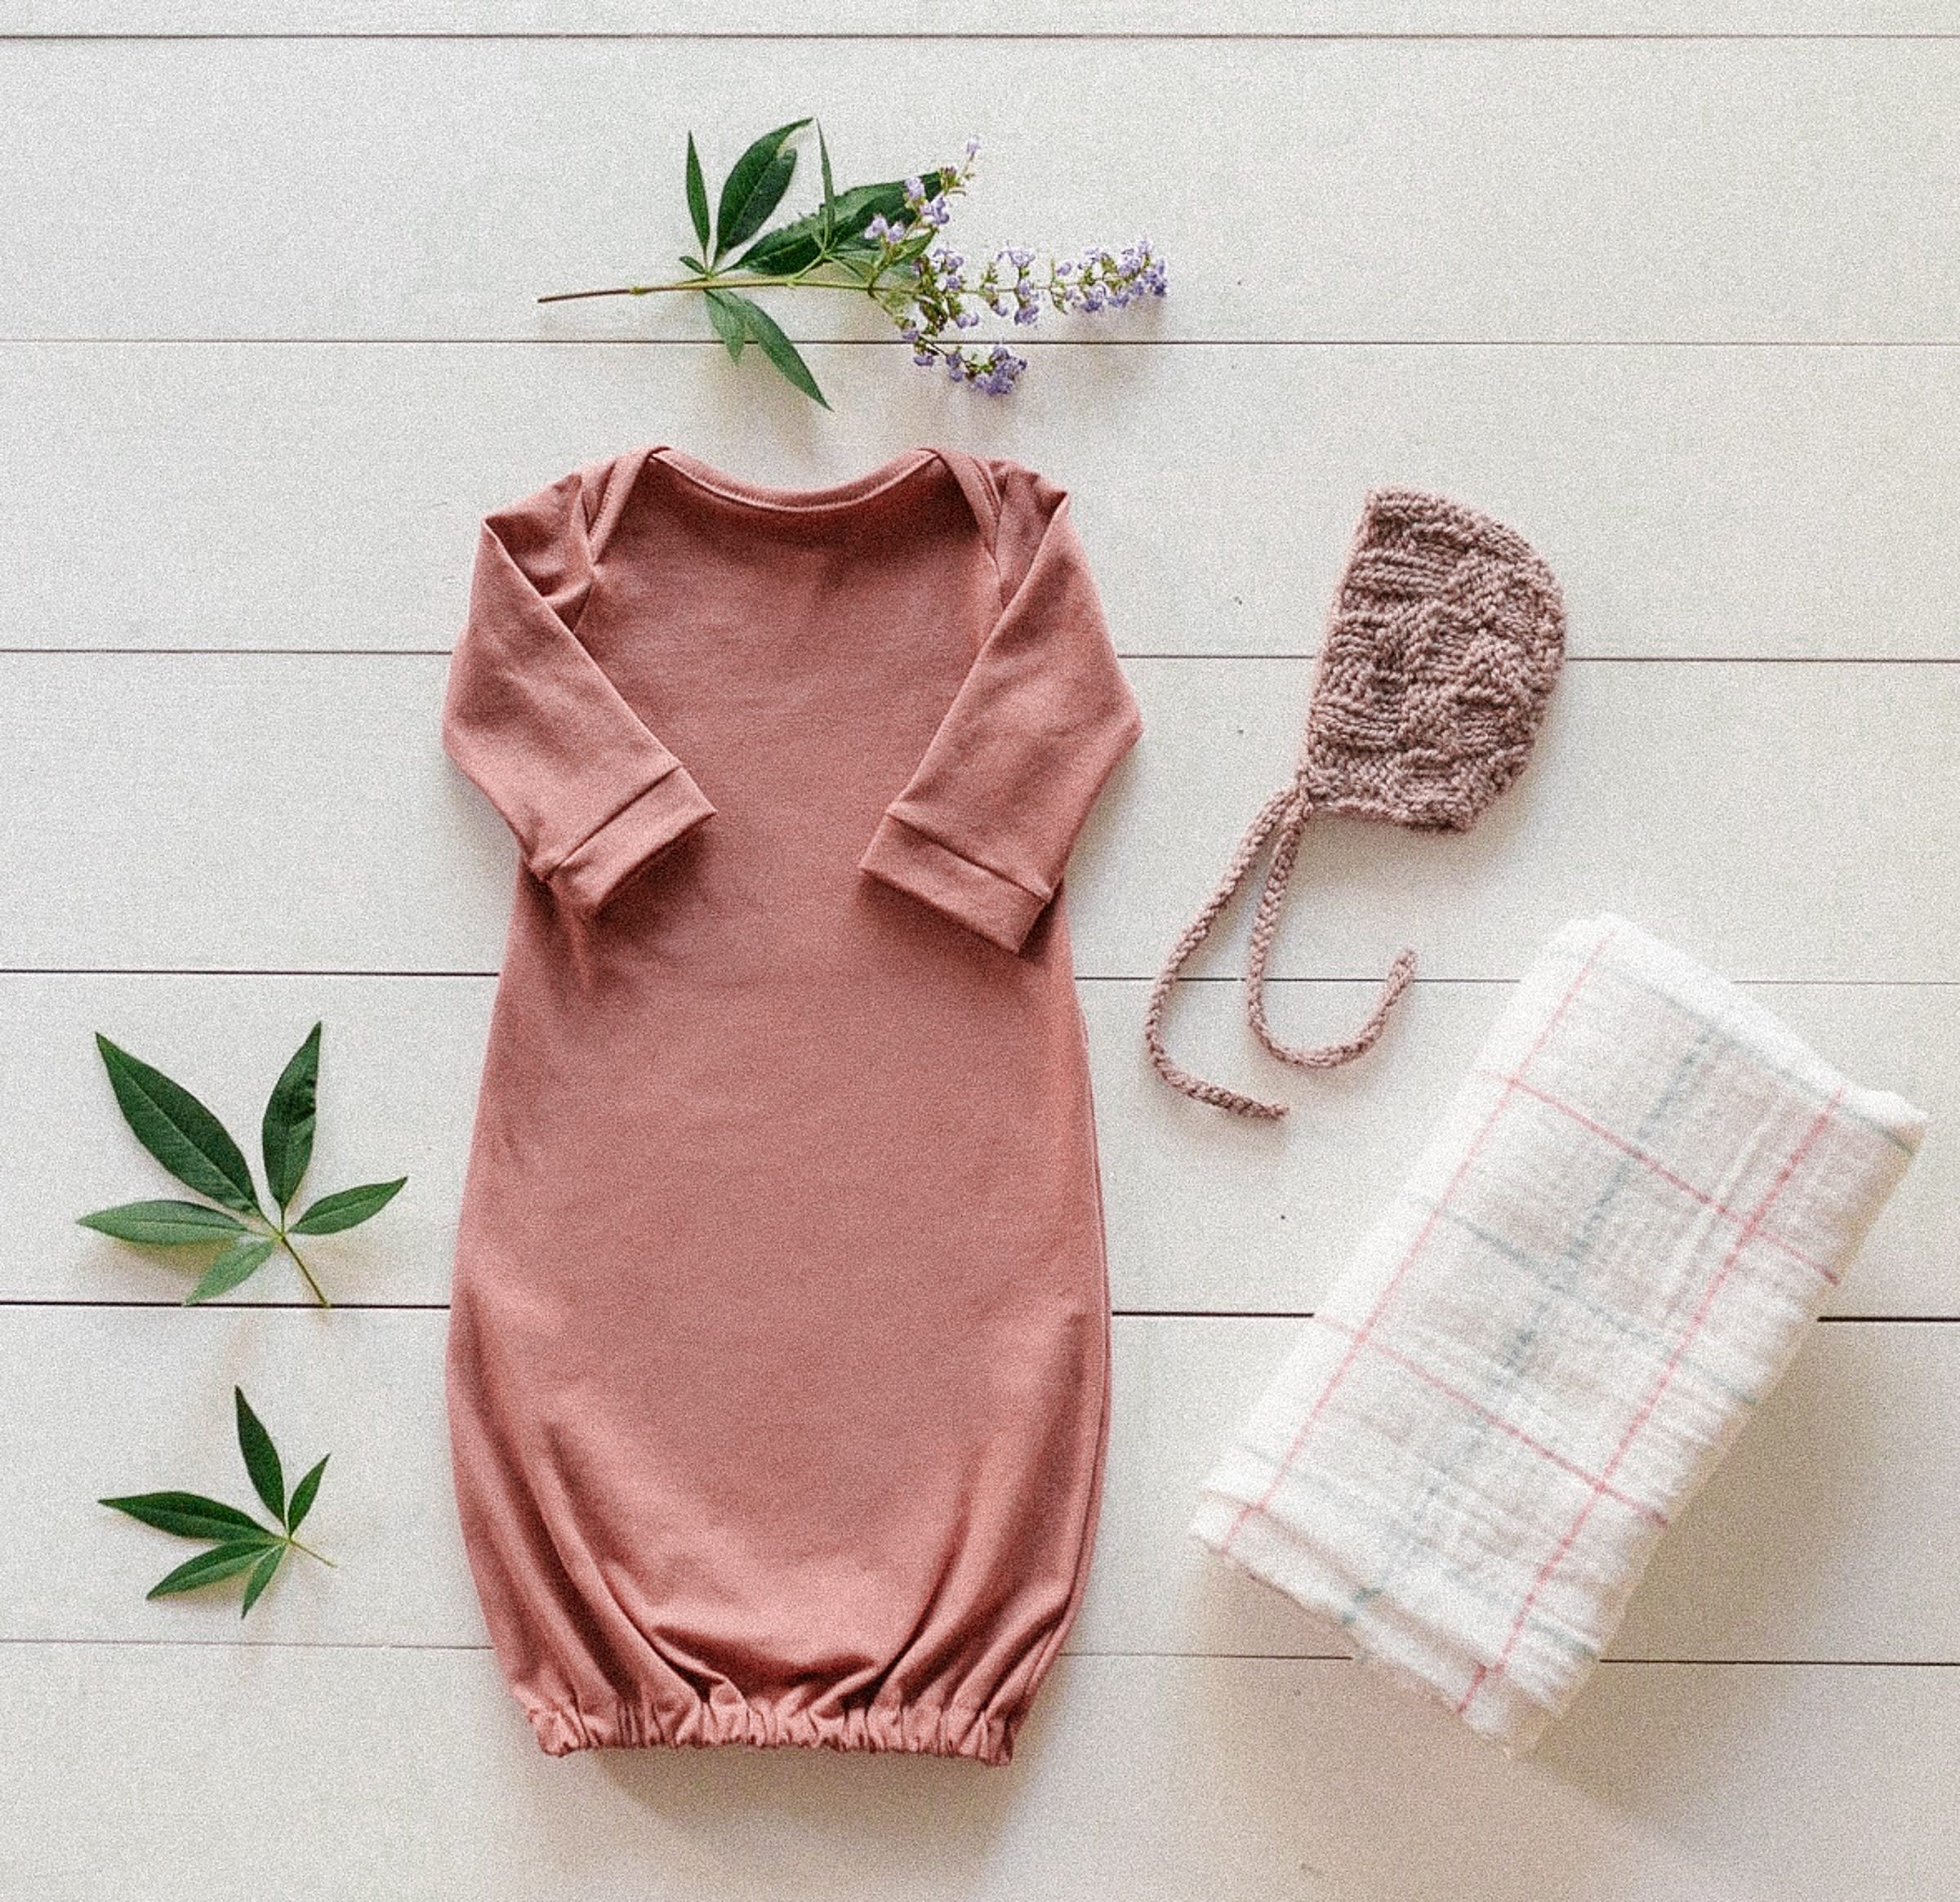
This pattern is designed to fit an 8-pound newborn with room to grow. My babies always outgrew their newborn clothes so quickly, and I wanted this gown to last through the first three months or so. It will be a bit roomy on a brand-new baby.
You'll need:
The PDF pattern below
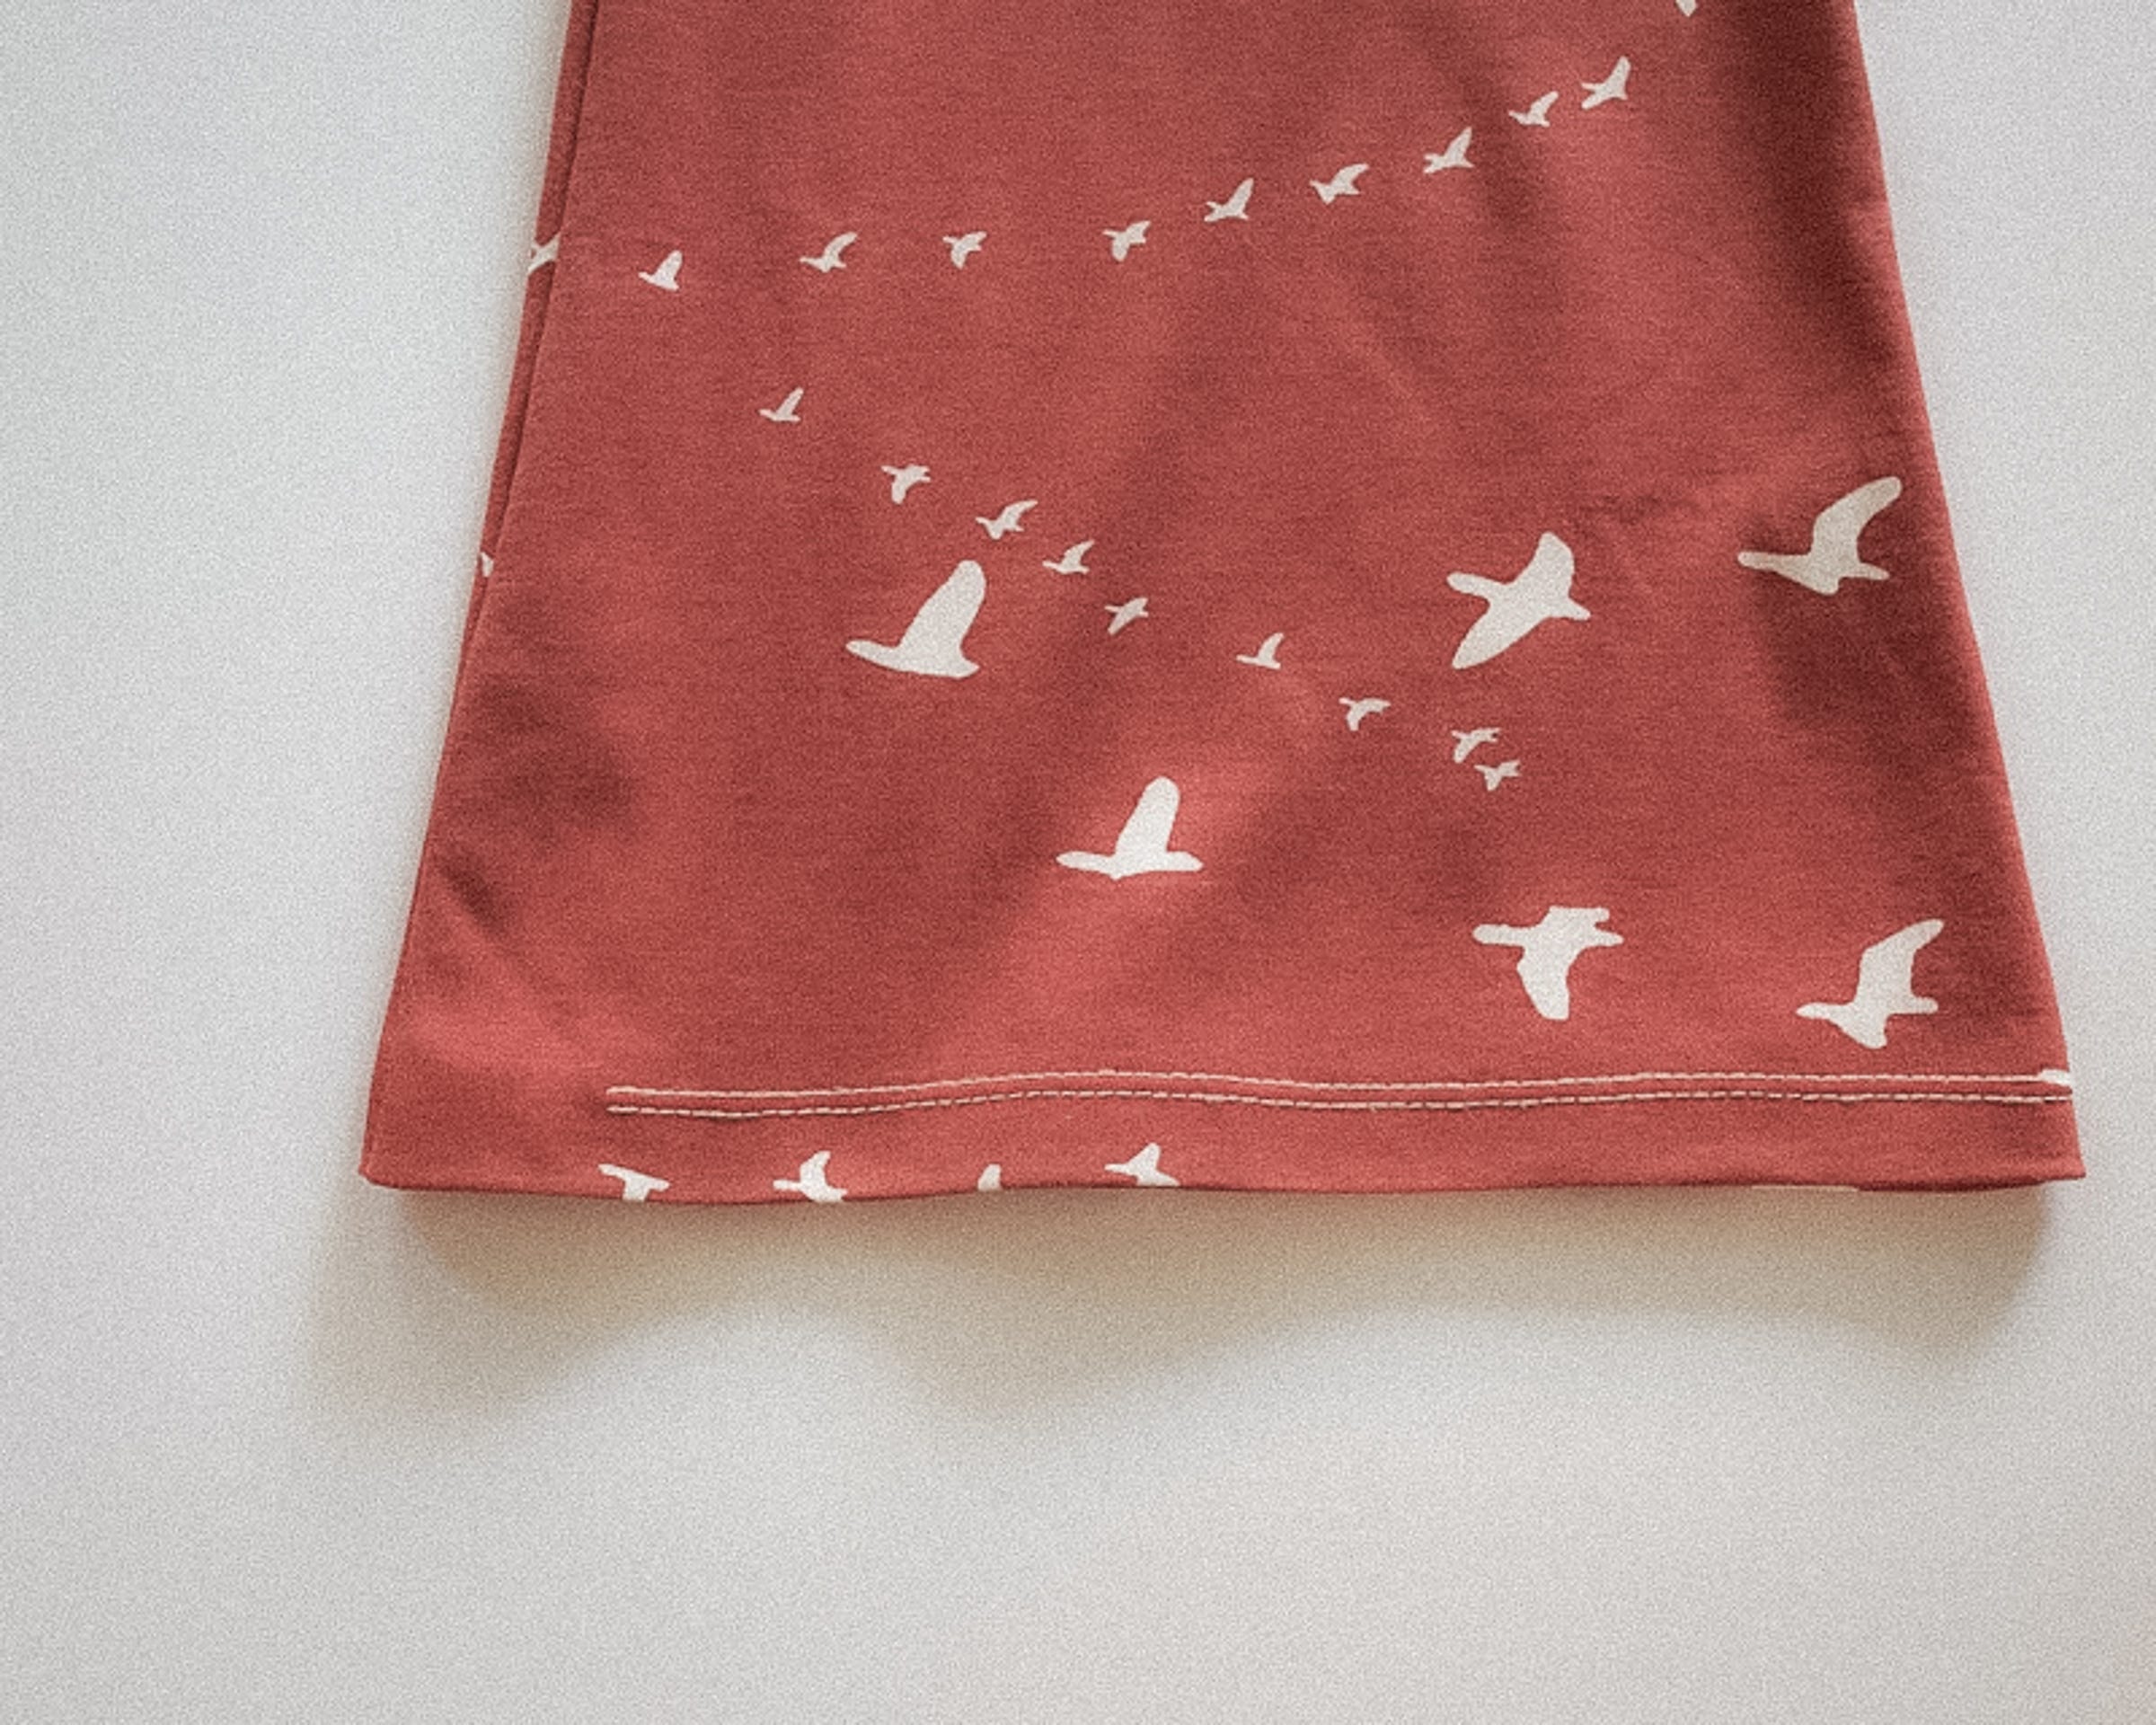
When printing the pattern, make sure your page size is set to 'Letter' and that Scale is set to 100%1 yard of medium-weight knit (stretchy, t-shirt-like) fabric.
You absolutely must use stretchy fabric with this pattern or it will not fit over the baby’s head.
Prewash the fabric — it almost certainly will shrink!Ballpoint or stretch needle
16 inches of ½" elastic
100% polyester thread or stretch thread — cotton thread has less stretch and can snap.
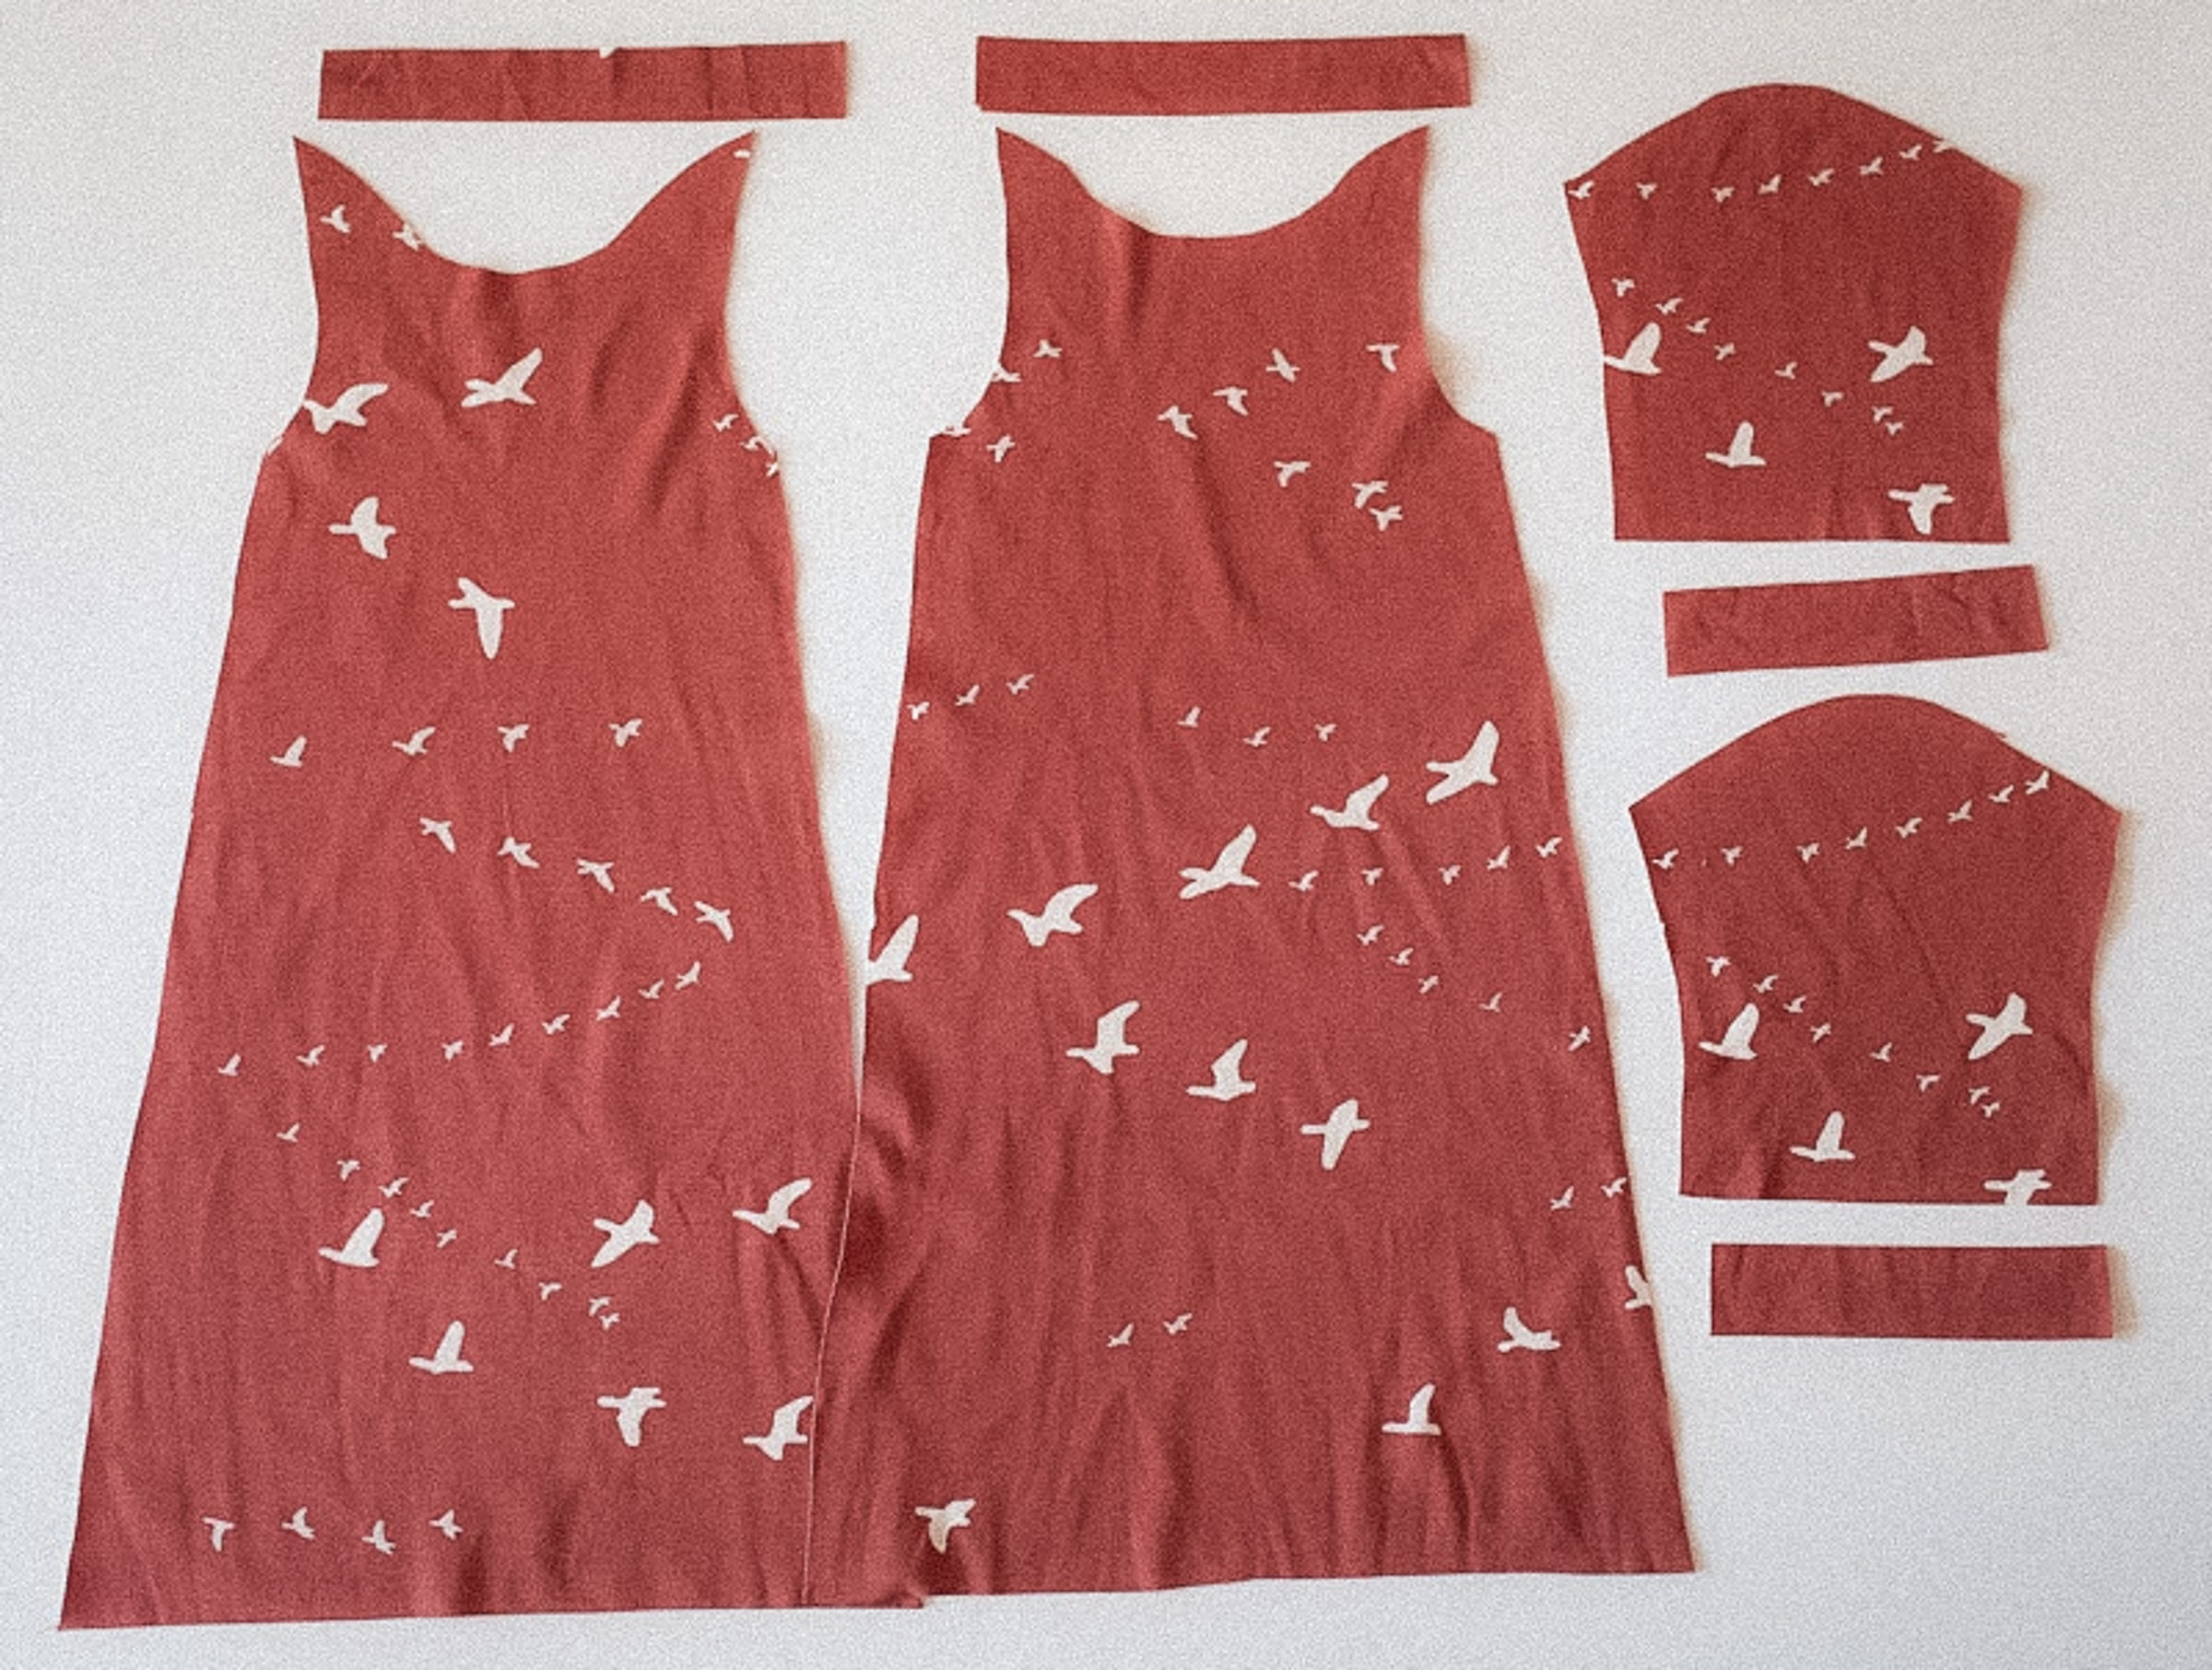
Binding Strips:
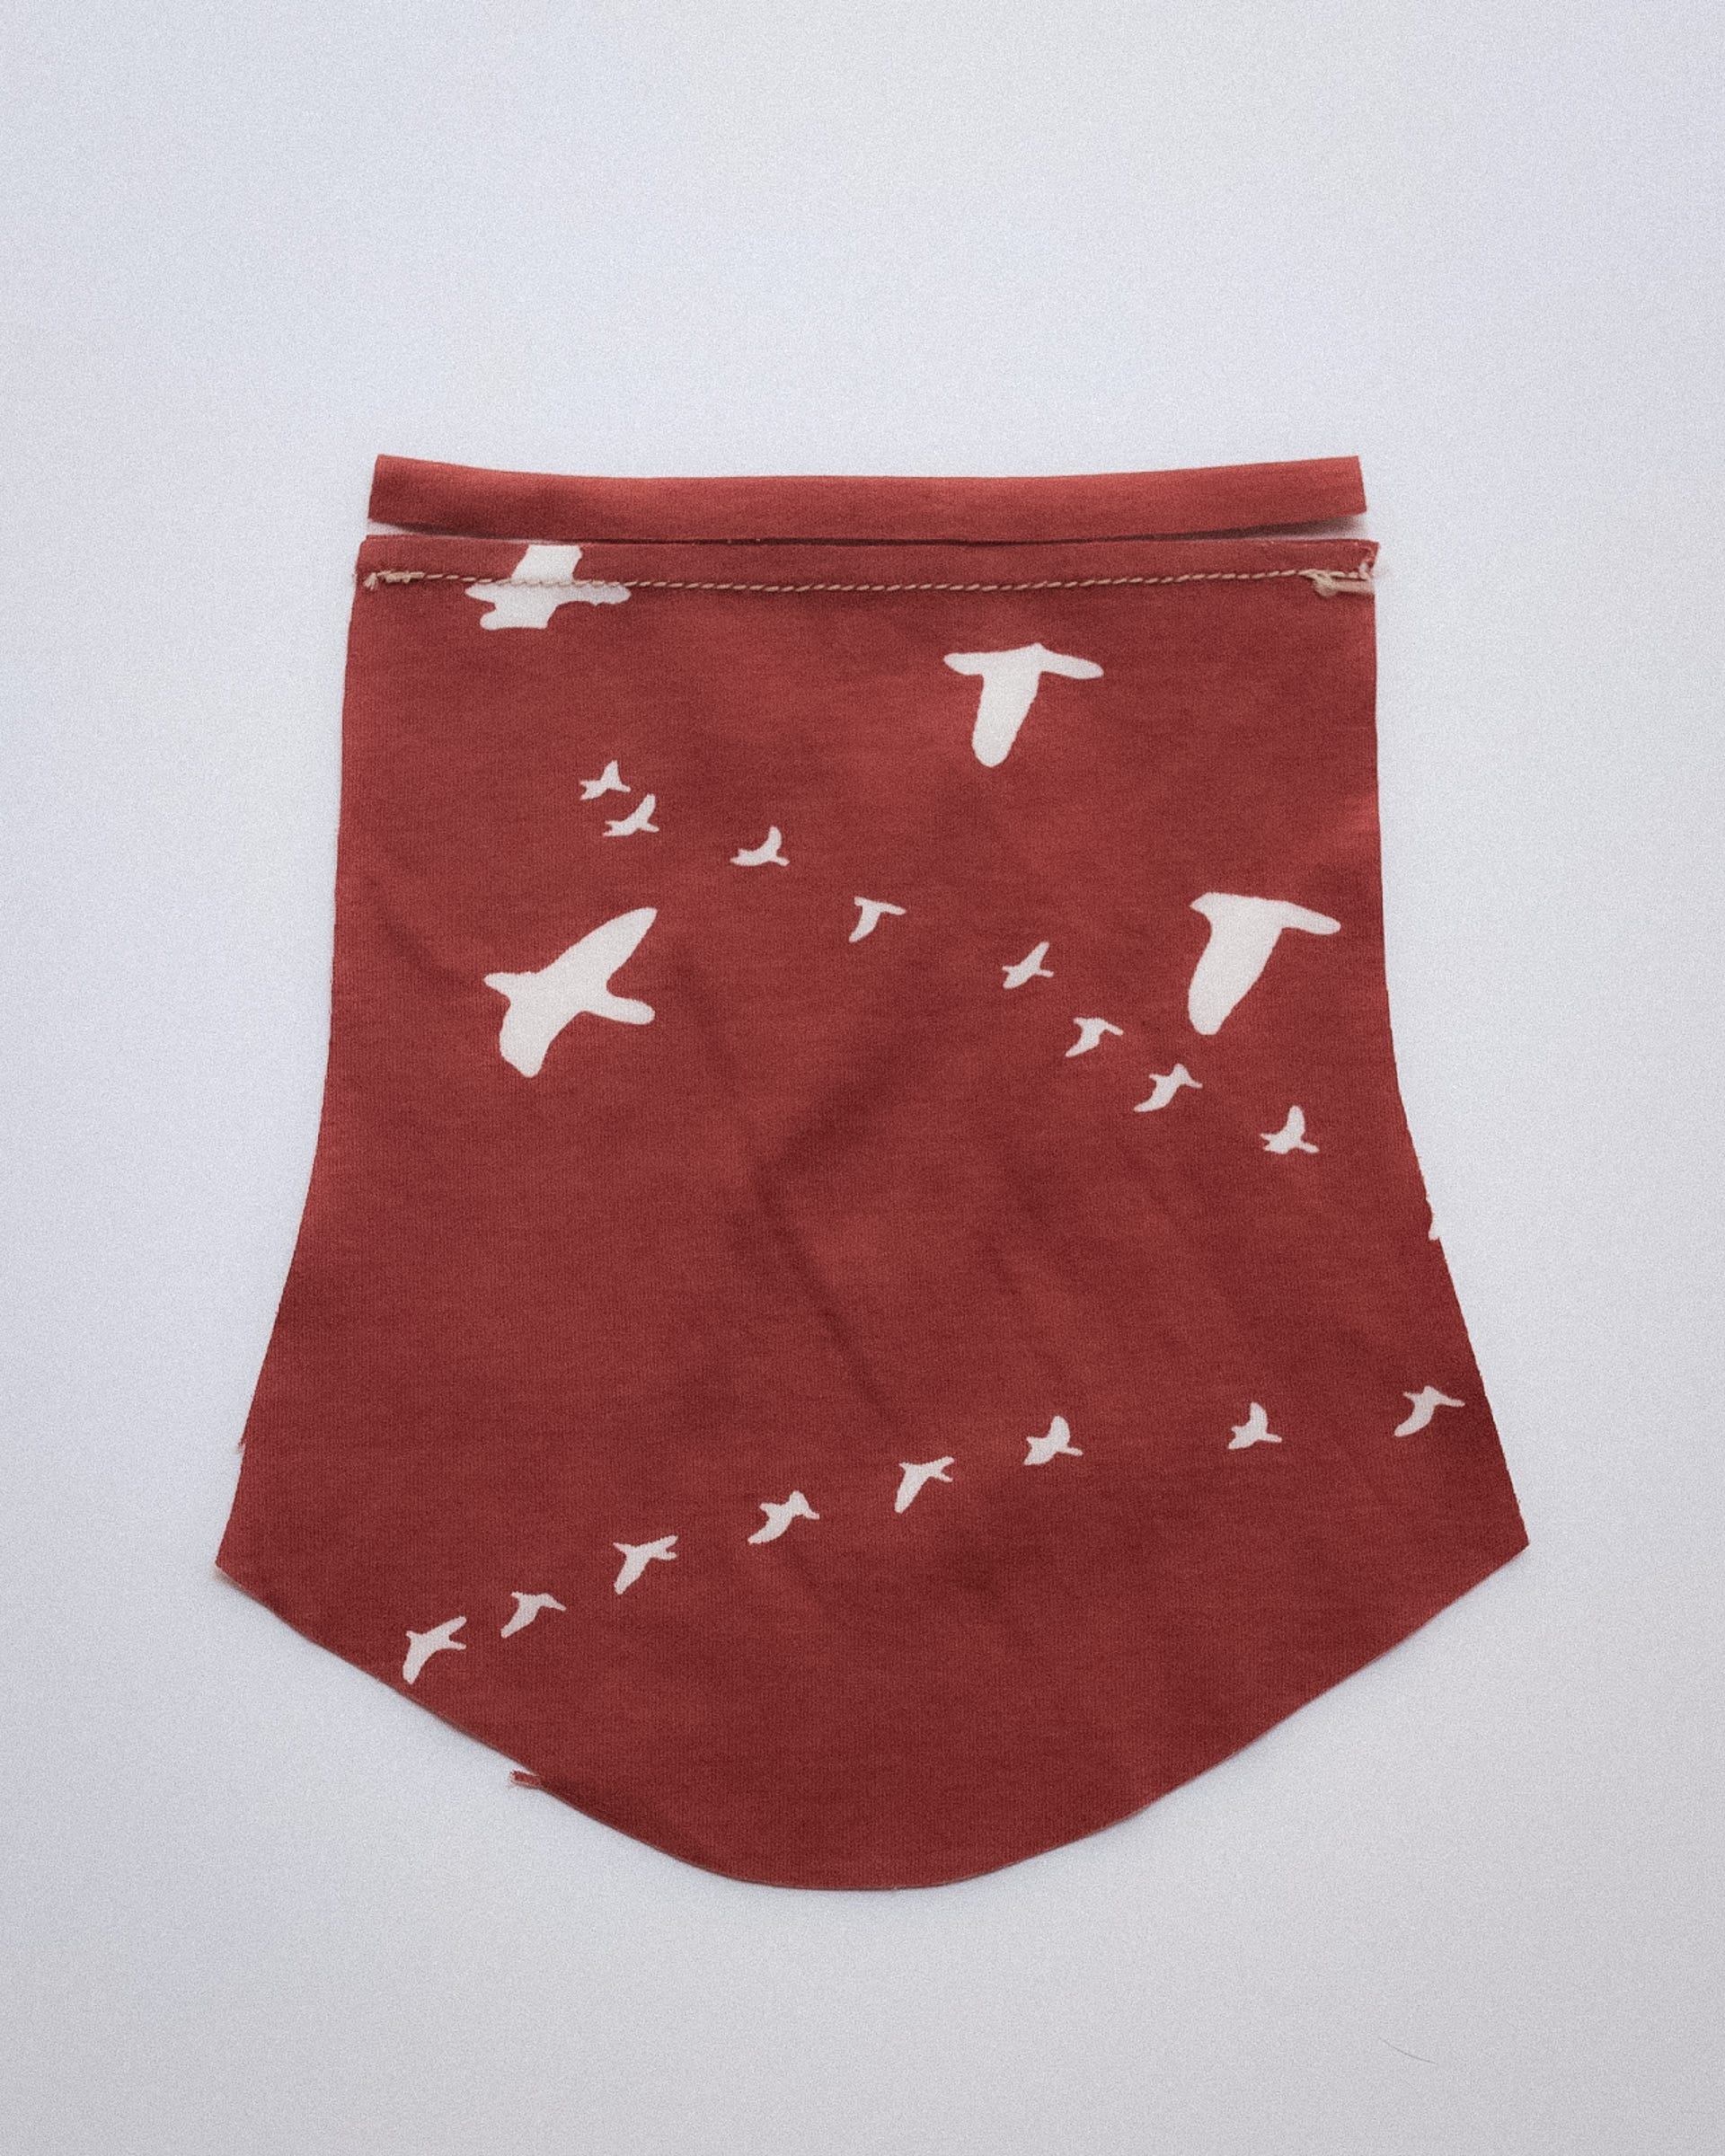
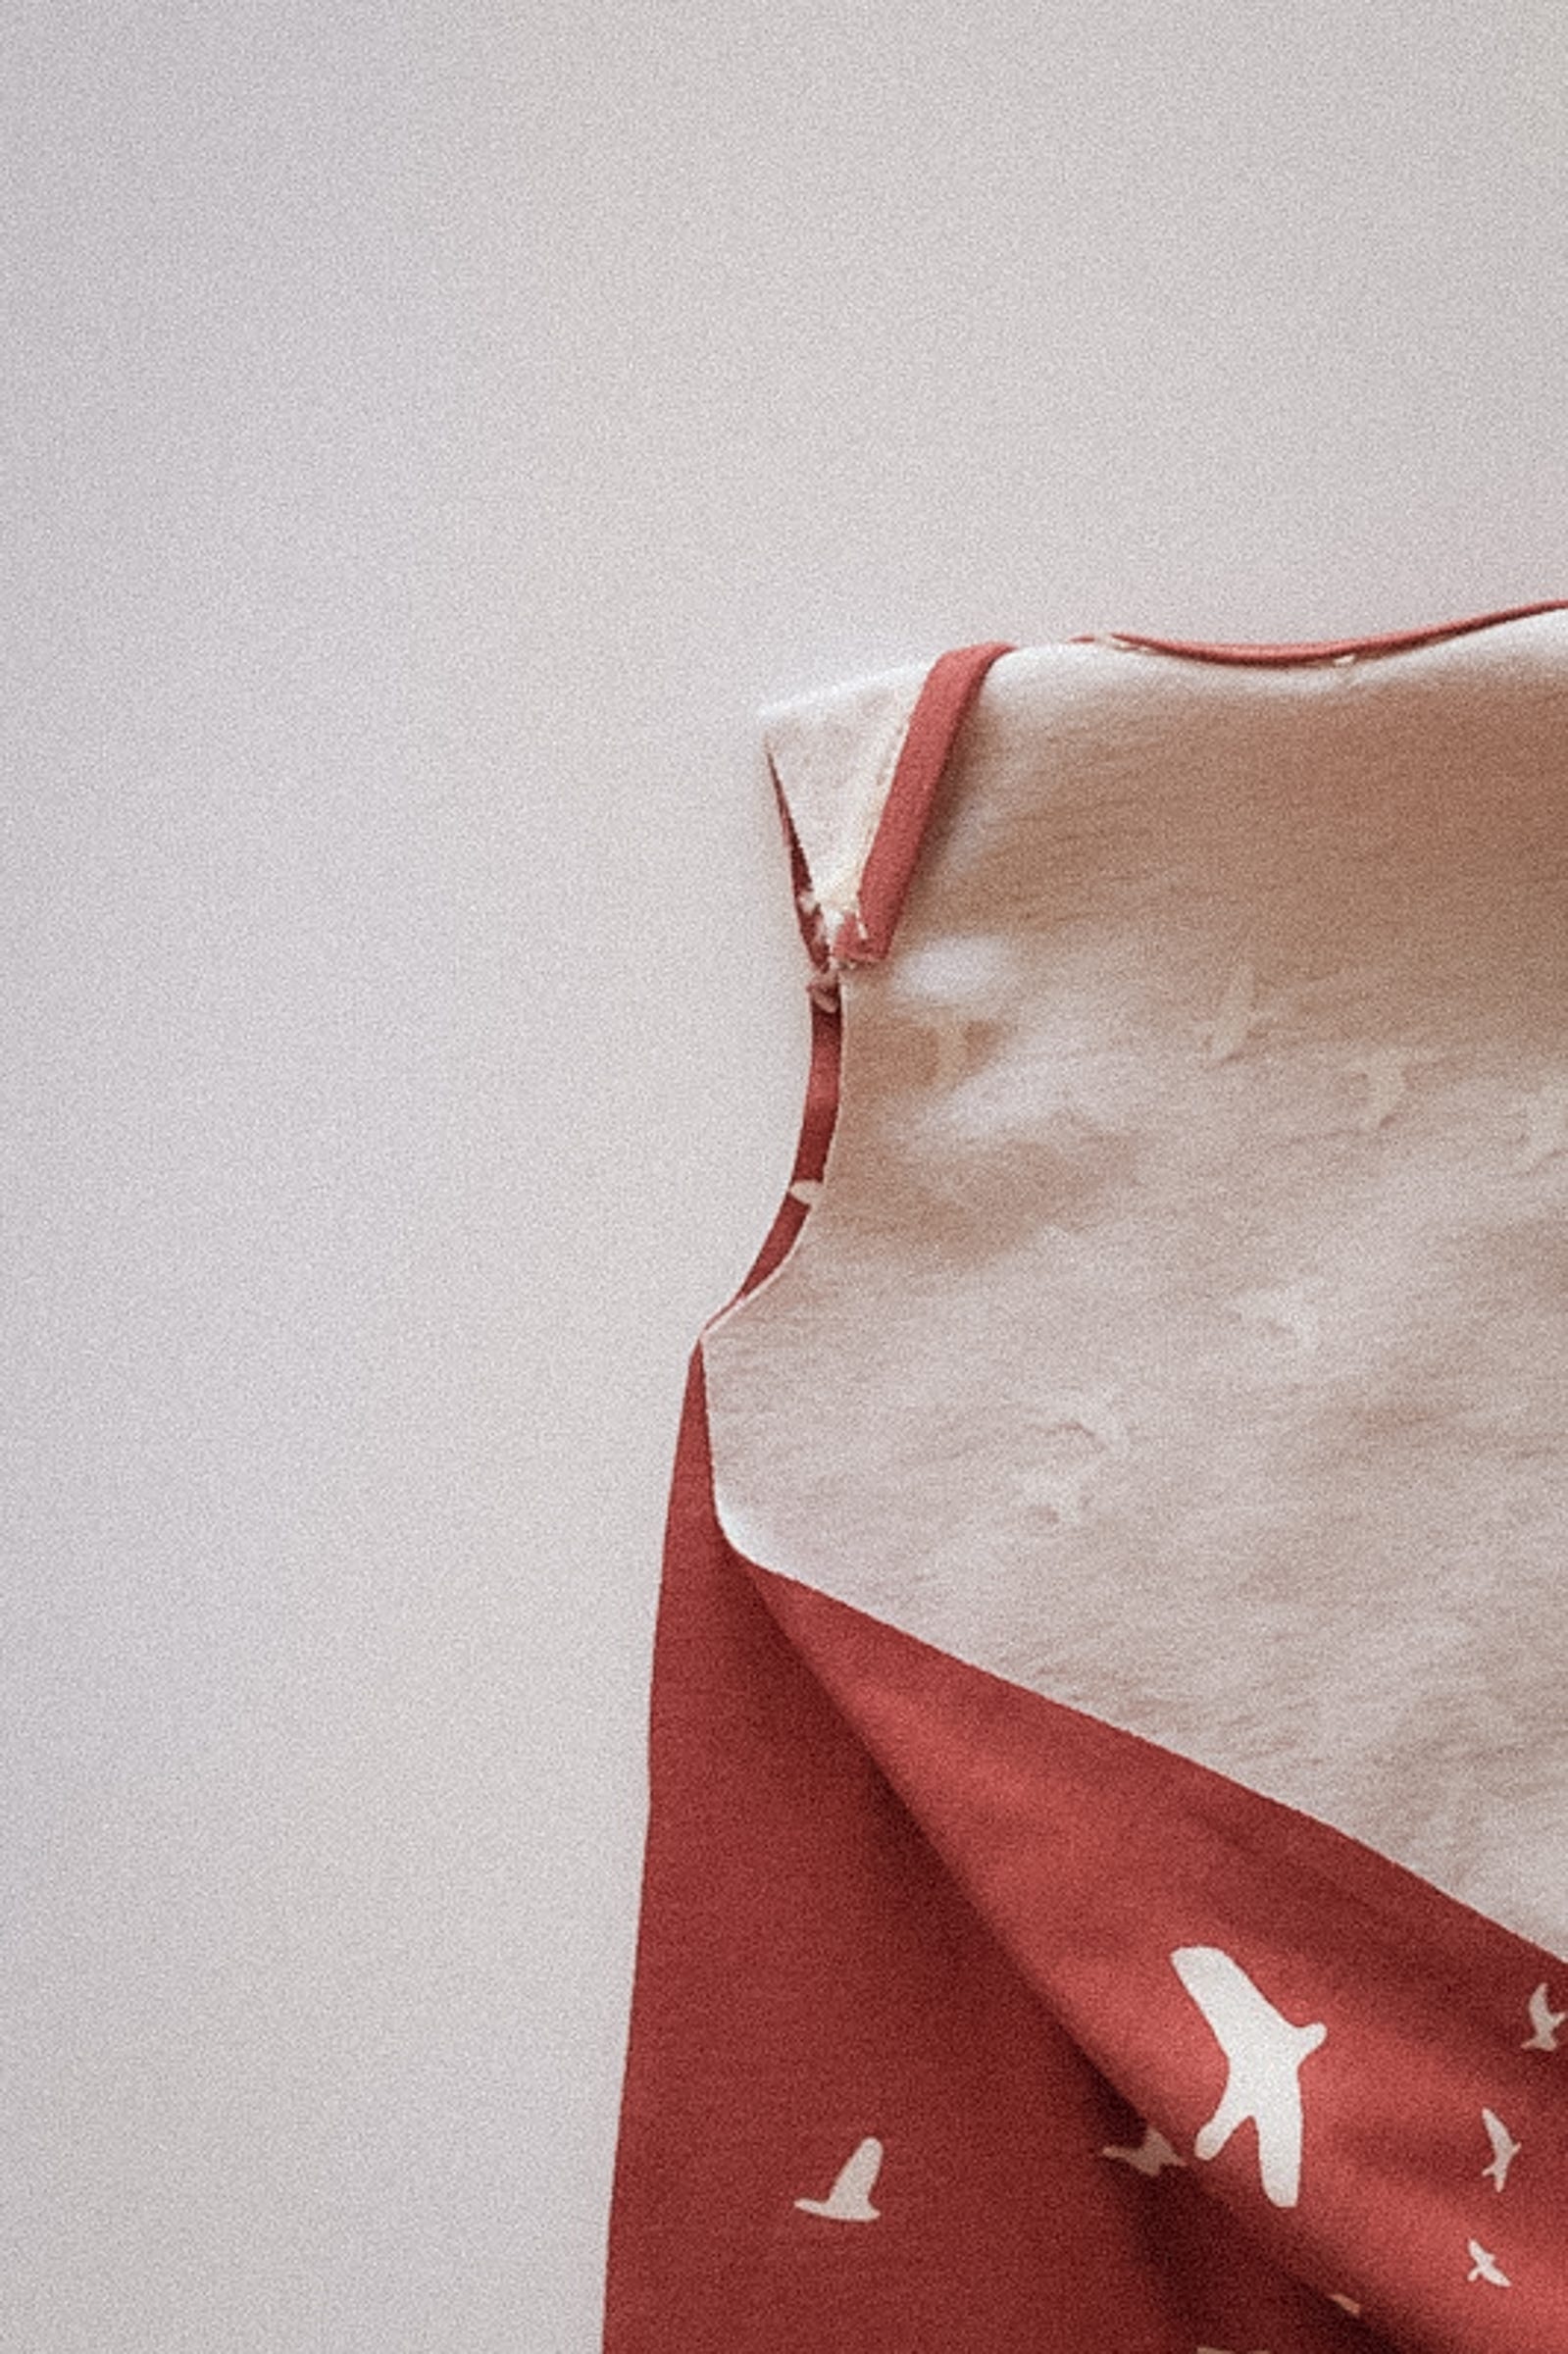
Cut one 1.5" tall x 9.5" wide strip of knit fabric for the front binding
Cut one 1.5" tall x 9" wide strip for the back binding
Be sure to cut them in the direction of the stretch. Ribbing is a great choice for neckbands, but I often like to use the same knit as my main fabric. If you'd like more info on cutting binding strips for knits, check out this post.
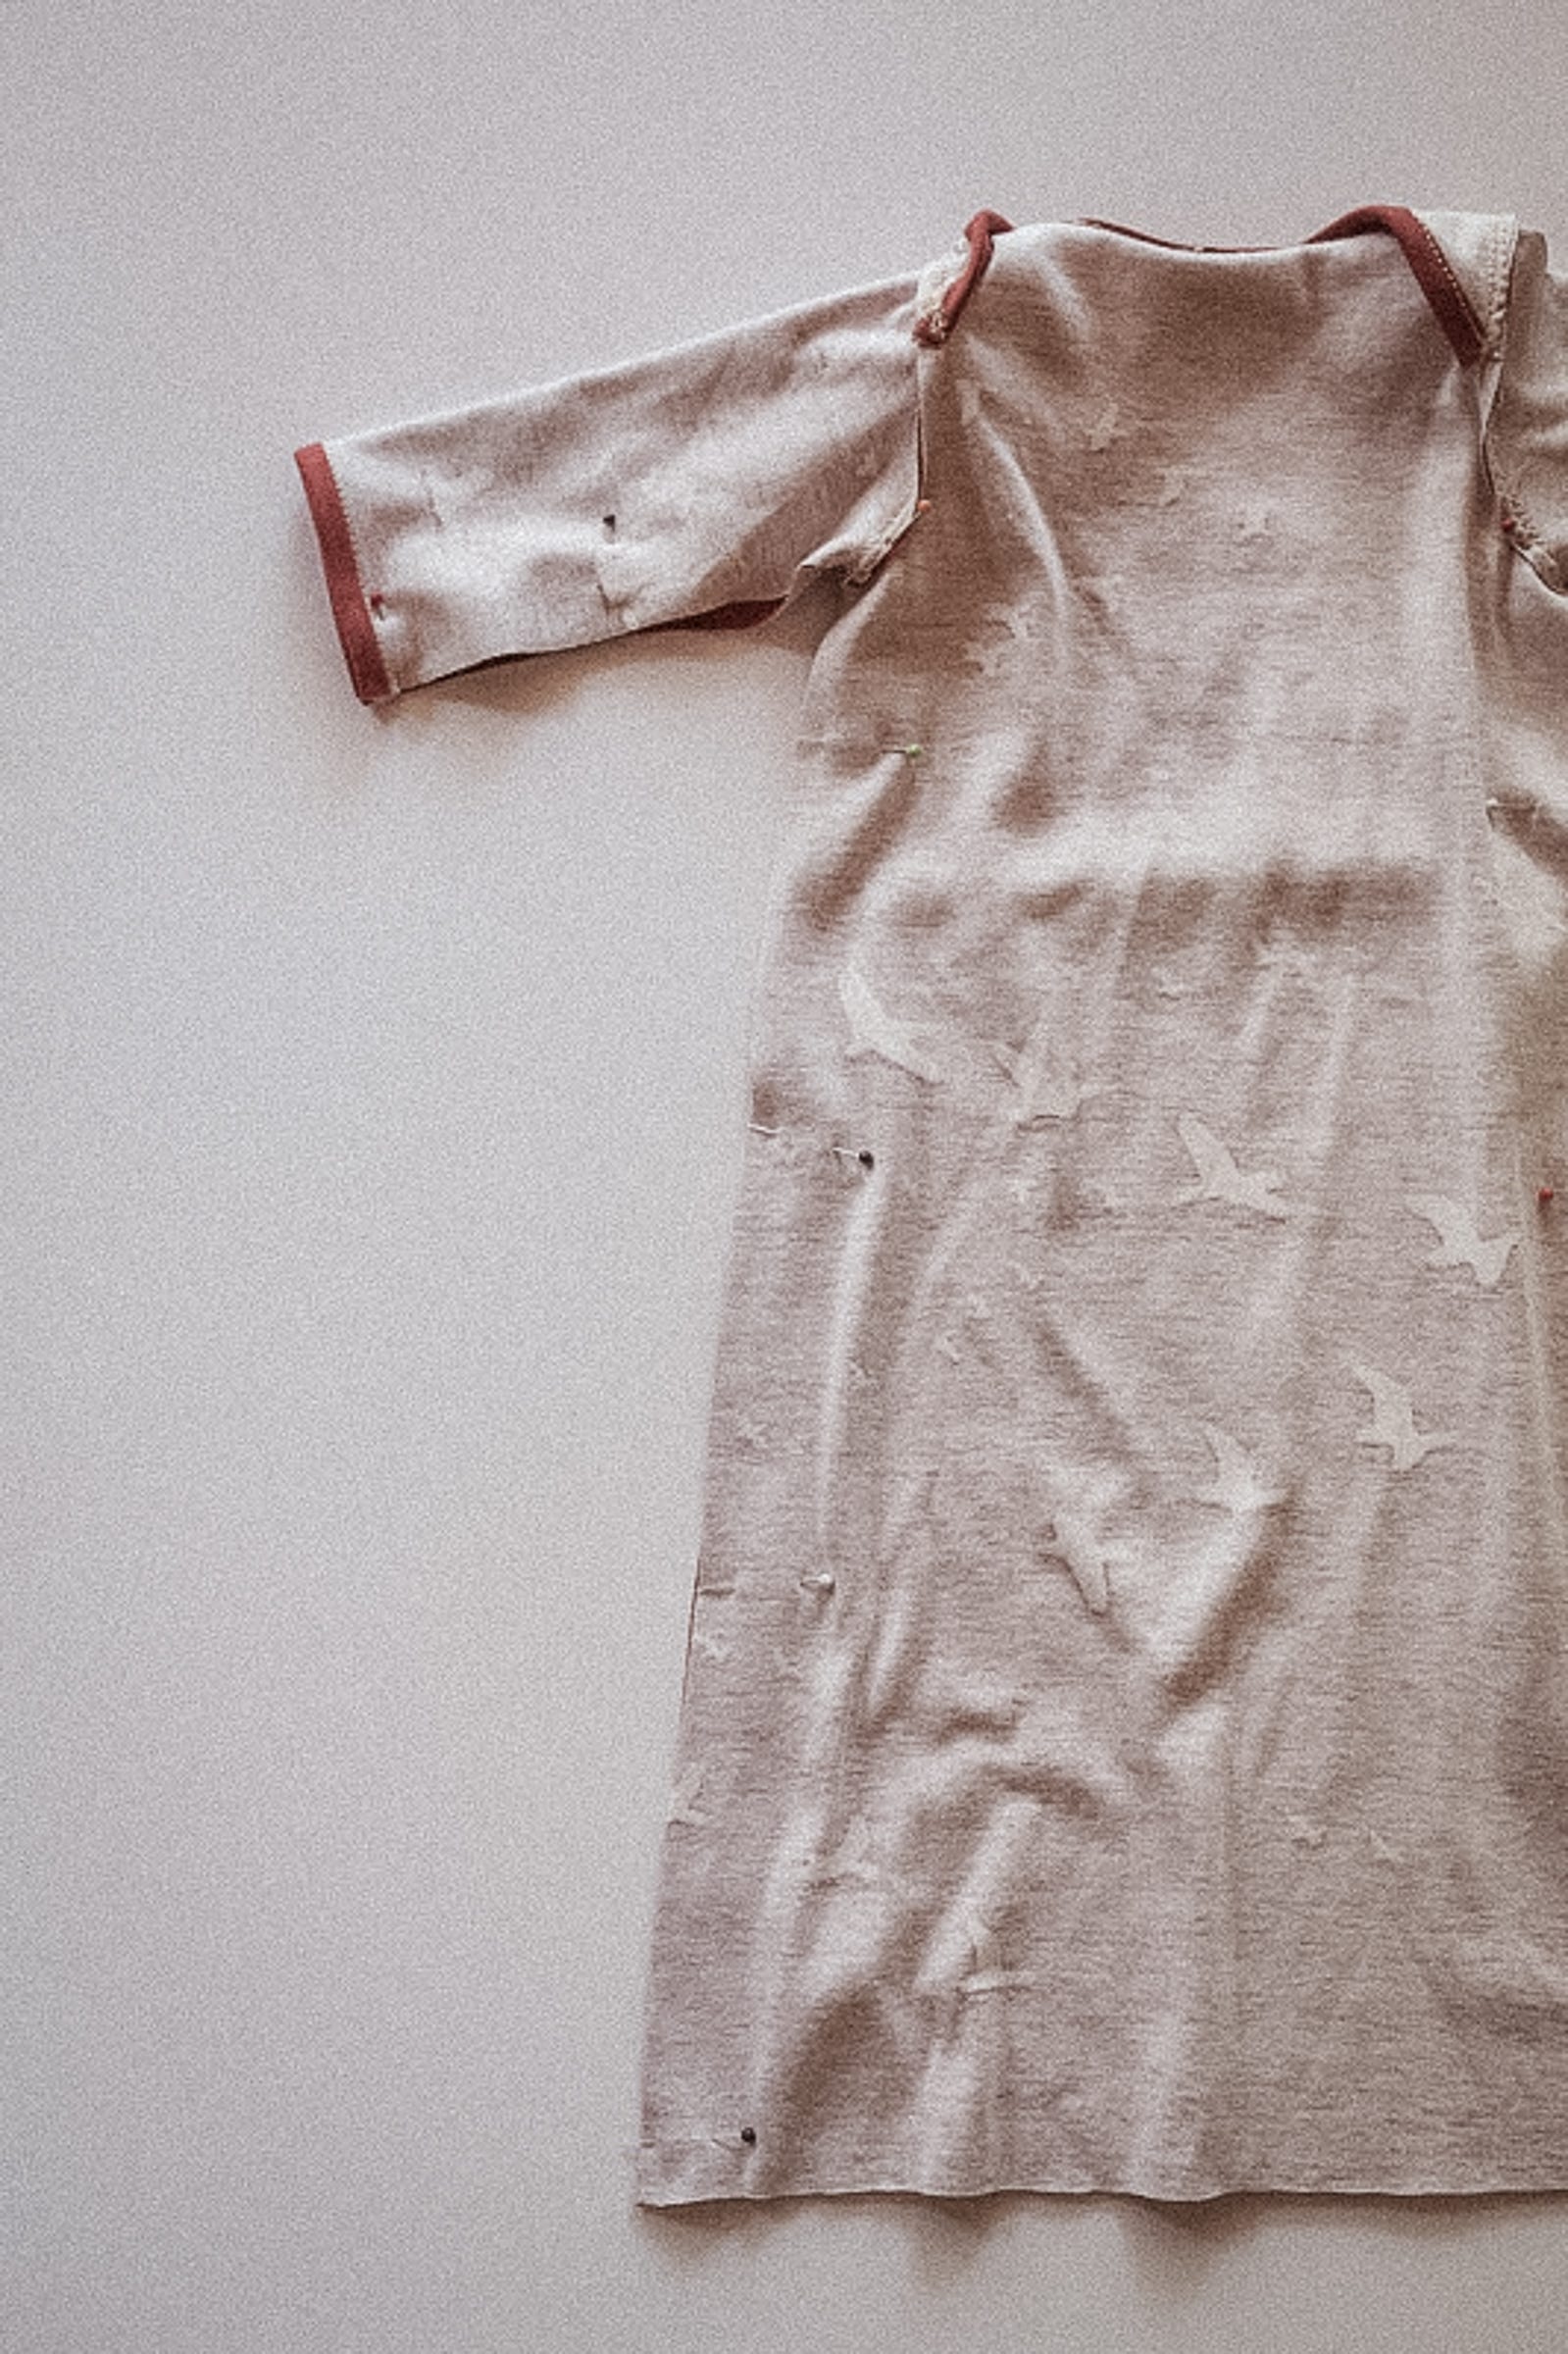
You can bind, sew cuffs, or hem the sleeves.
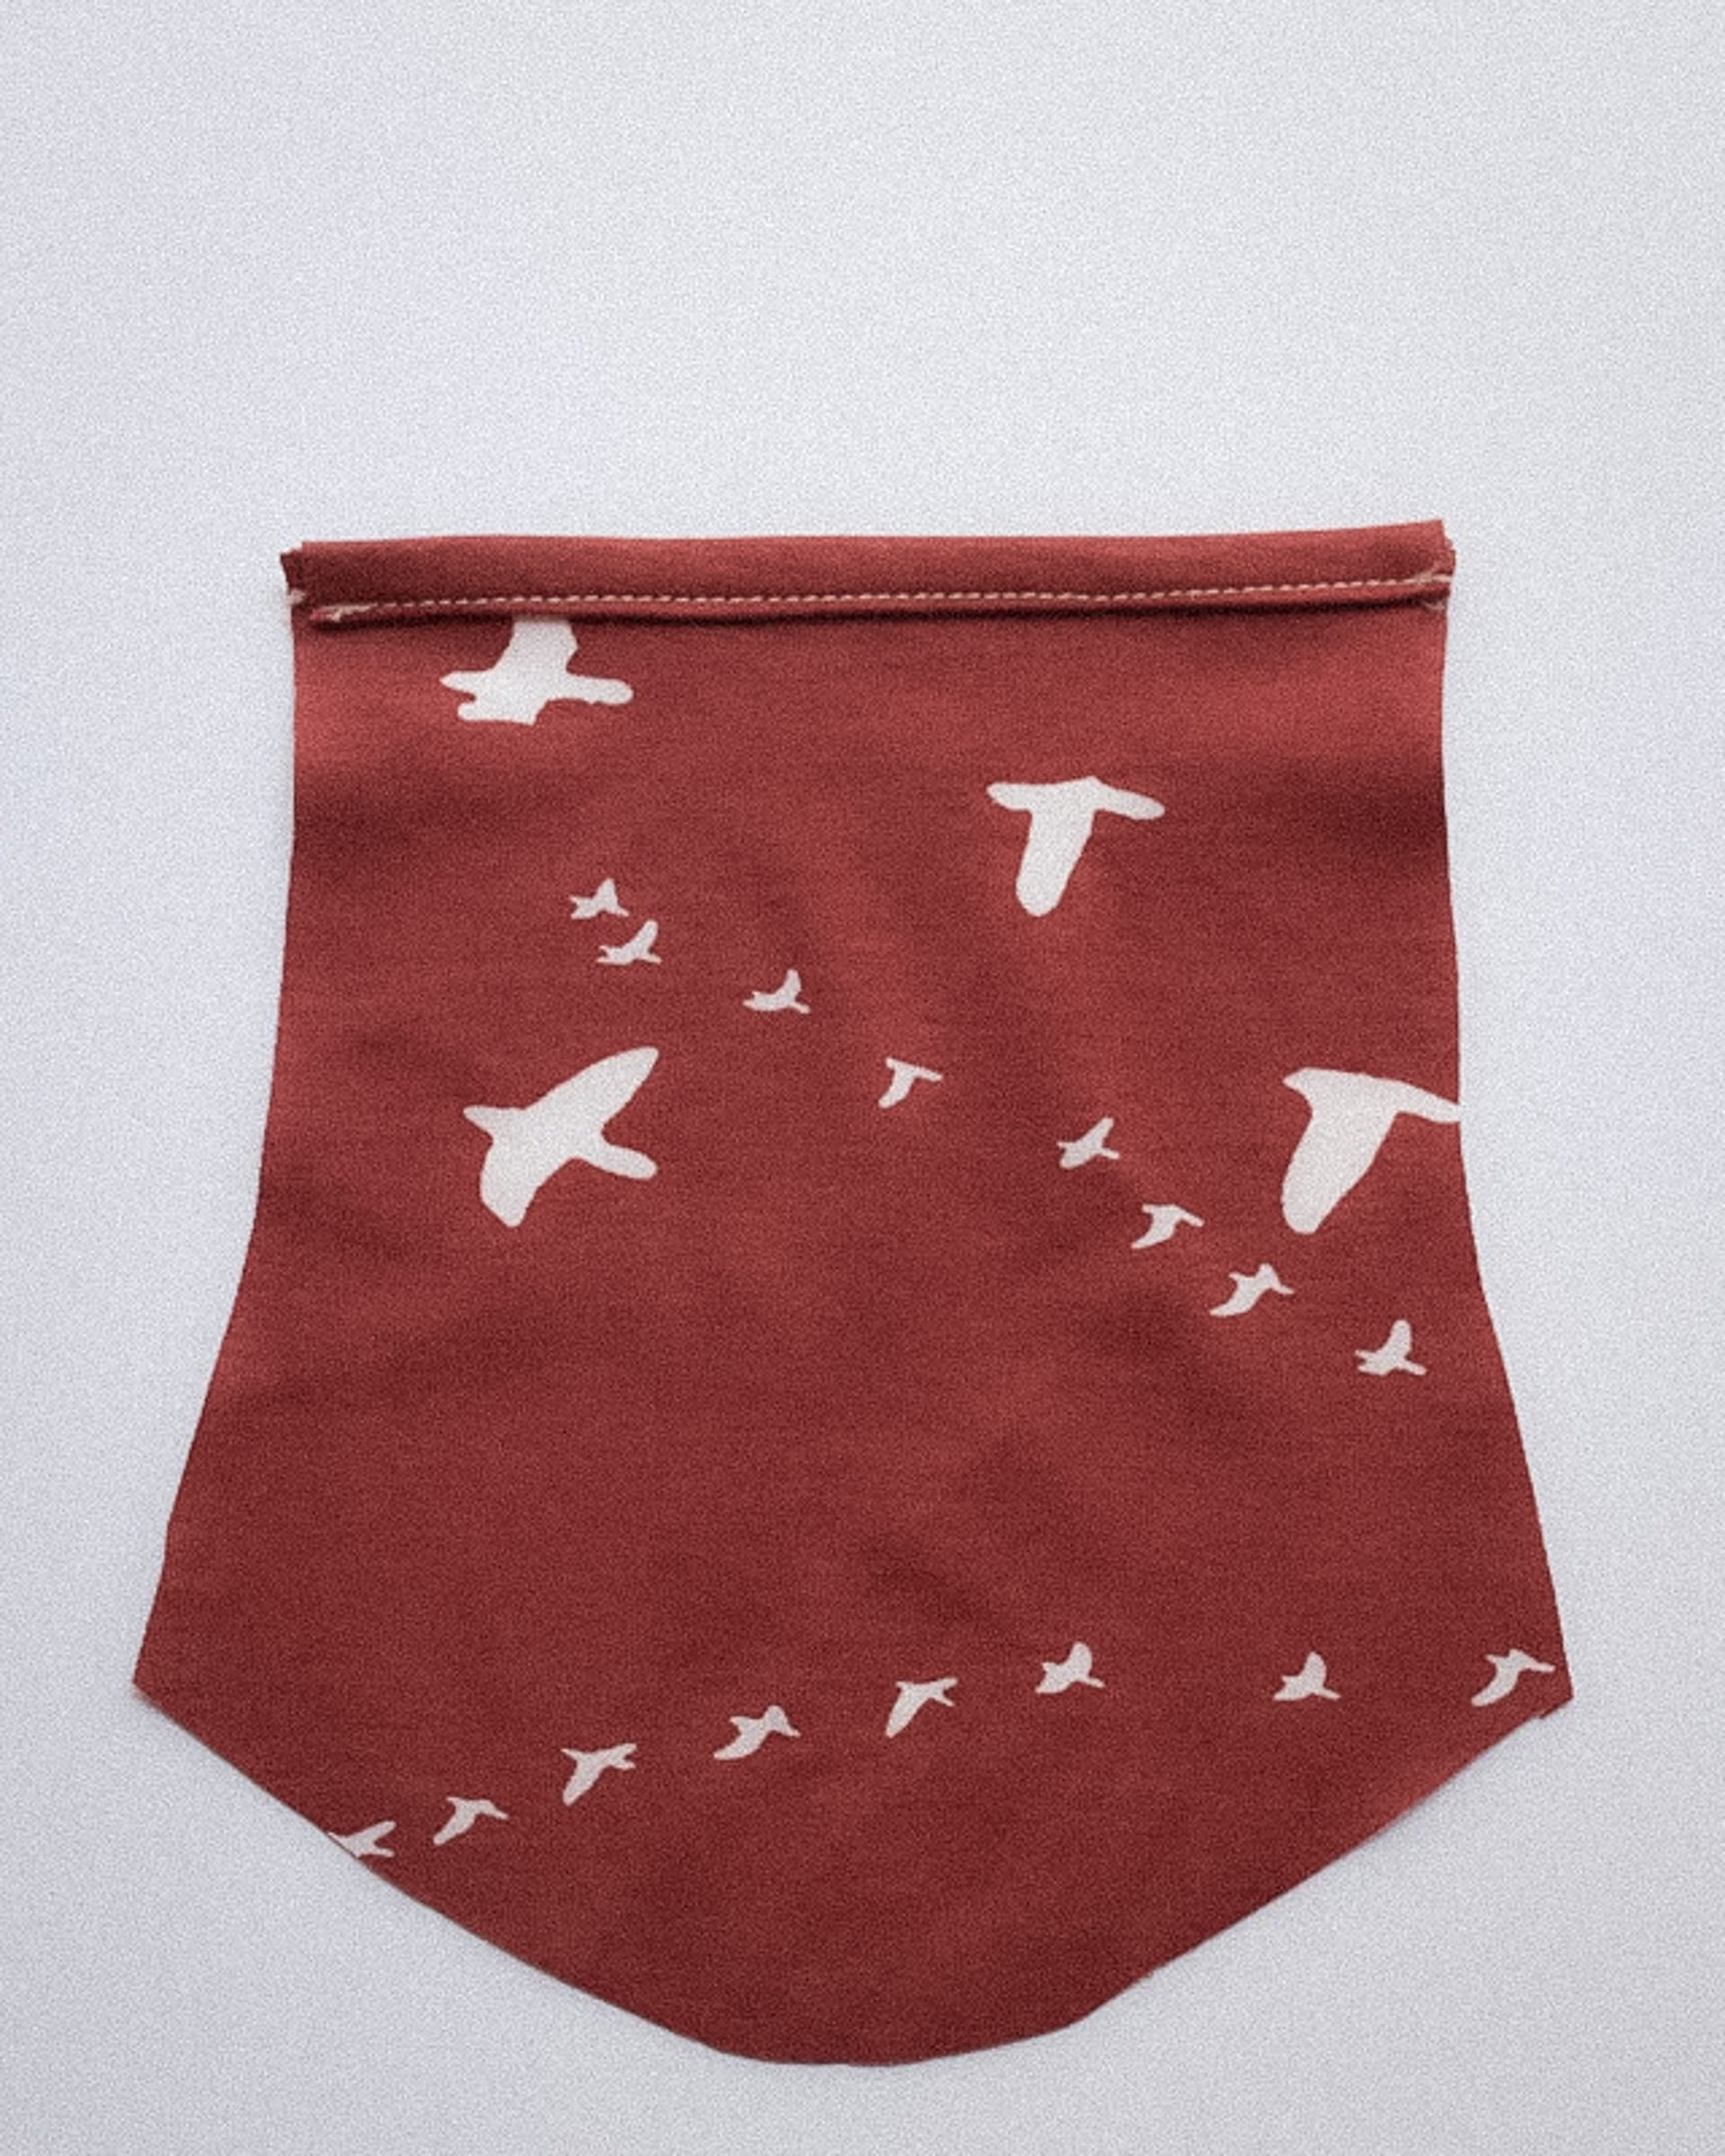
If you'd like to bind the sleeves:
Cut two 1.5" tall x 6.5" wide strips
Bound sleeve will look like this:
Or you can cuff the sleeves:

• Cut two 2.5" tall x 6.5" wide cuff pieces (make sure the stretch runs across the 6.5" width).
• Trim ½" off the end of each sleeve to account for the added length the cuff will provide, so the finished sleeve doesn't end up being too long.
Or you can simply hem the sleeves!
A few things before getting started:
Prewash and machine dry your knit fabric. Knit fabrics can shrink dramatically, so don’t skip this step!
After printing the pattern, confirm that the 1-inch test box on page one actually measures 1 inch.
Tape the pattern together so the lines at the top and bottom of each page overlap. Trim away the paper above or below the line.
When hemming knits, you can use a narrow zigzag stitch (0.5mm width and 2.5–3.0 in length) or a double needle. I like to increase my stitch length to 3.2–3.8 when using a straight stitch.
I start sewing about ¼–½ inch in from the fabric edge, then backstitch to the edge—otherwise my machine tends to eat the knit fabric.
All seam allowances are ¼" unless otherwise noted.
Construction
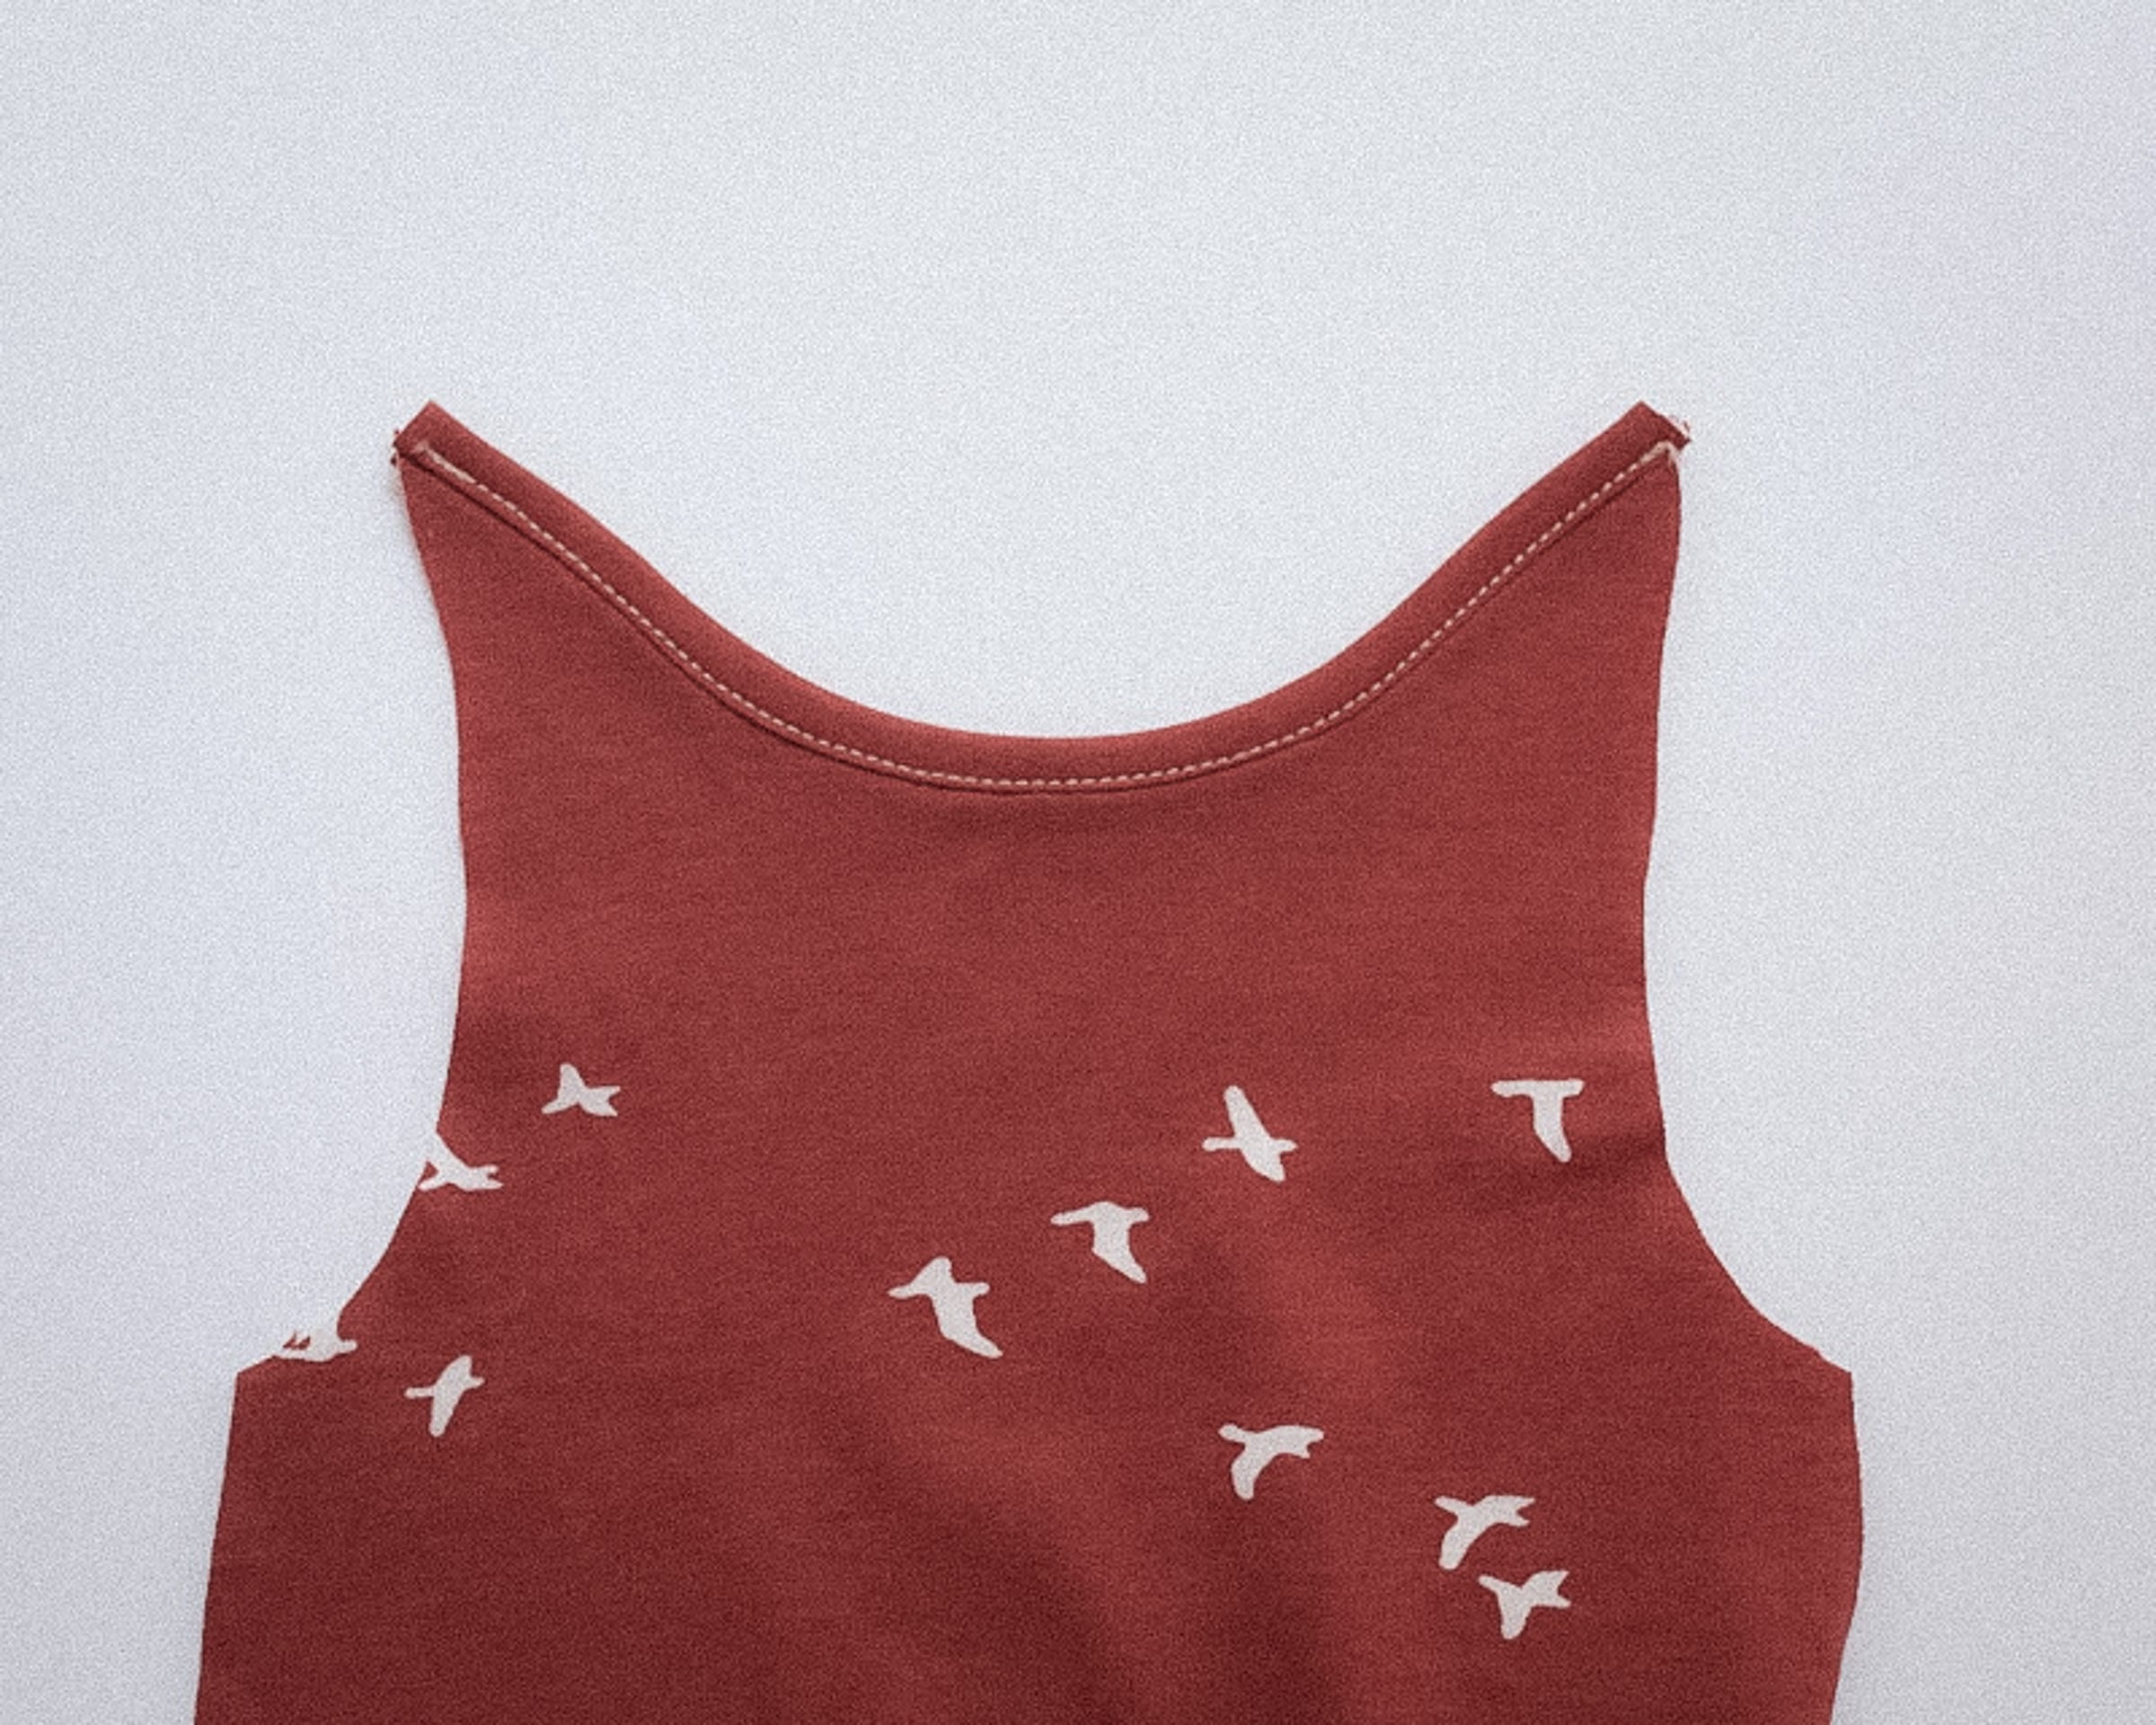
Attach the Binding Strips:
Start by attaching the binding strips to the front and back necklines, and the sleeves if you're using binding there. (If you plan to hem the sleeves, you'll do that at the end.)
Pin the right side of the binding strip to the wrong side of the fabric, once at each end and once in the middle. Add more pins as needed.
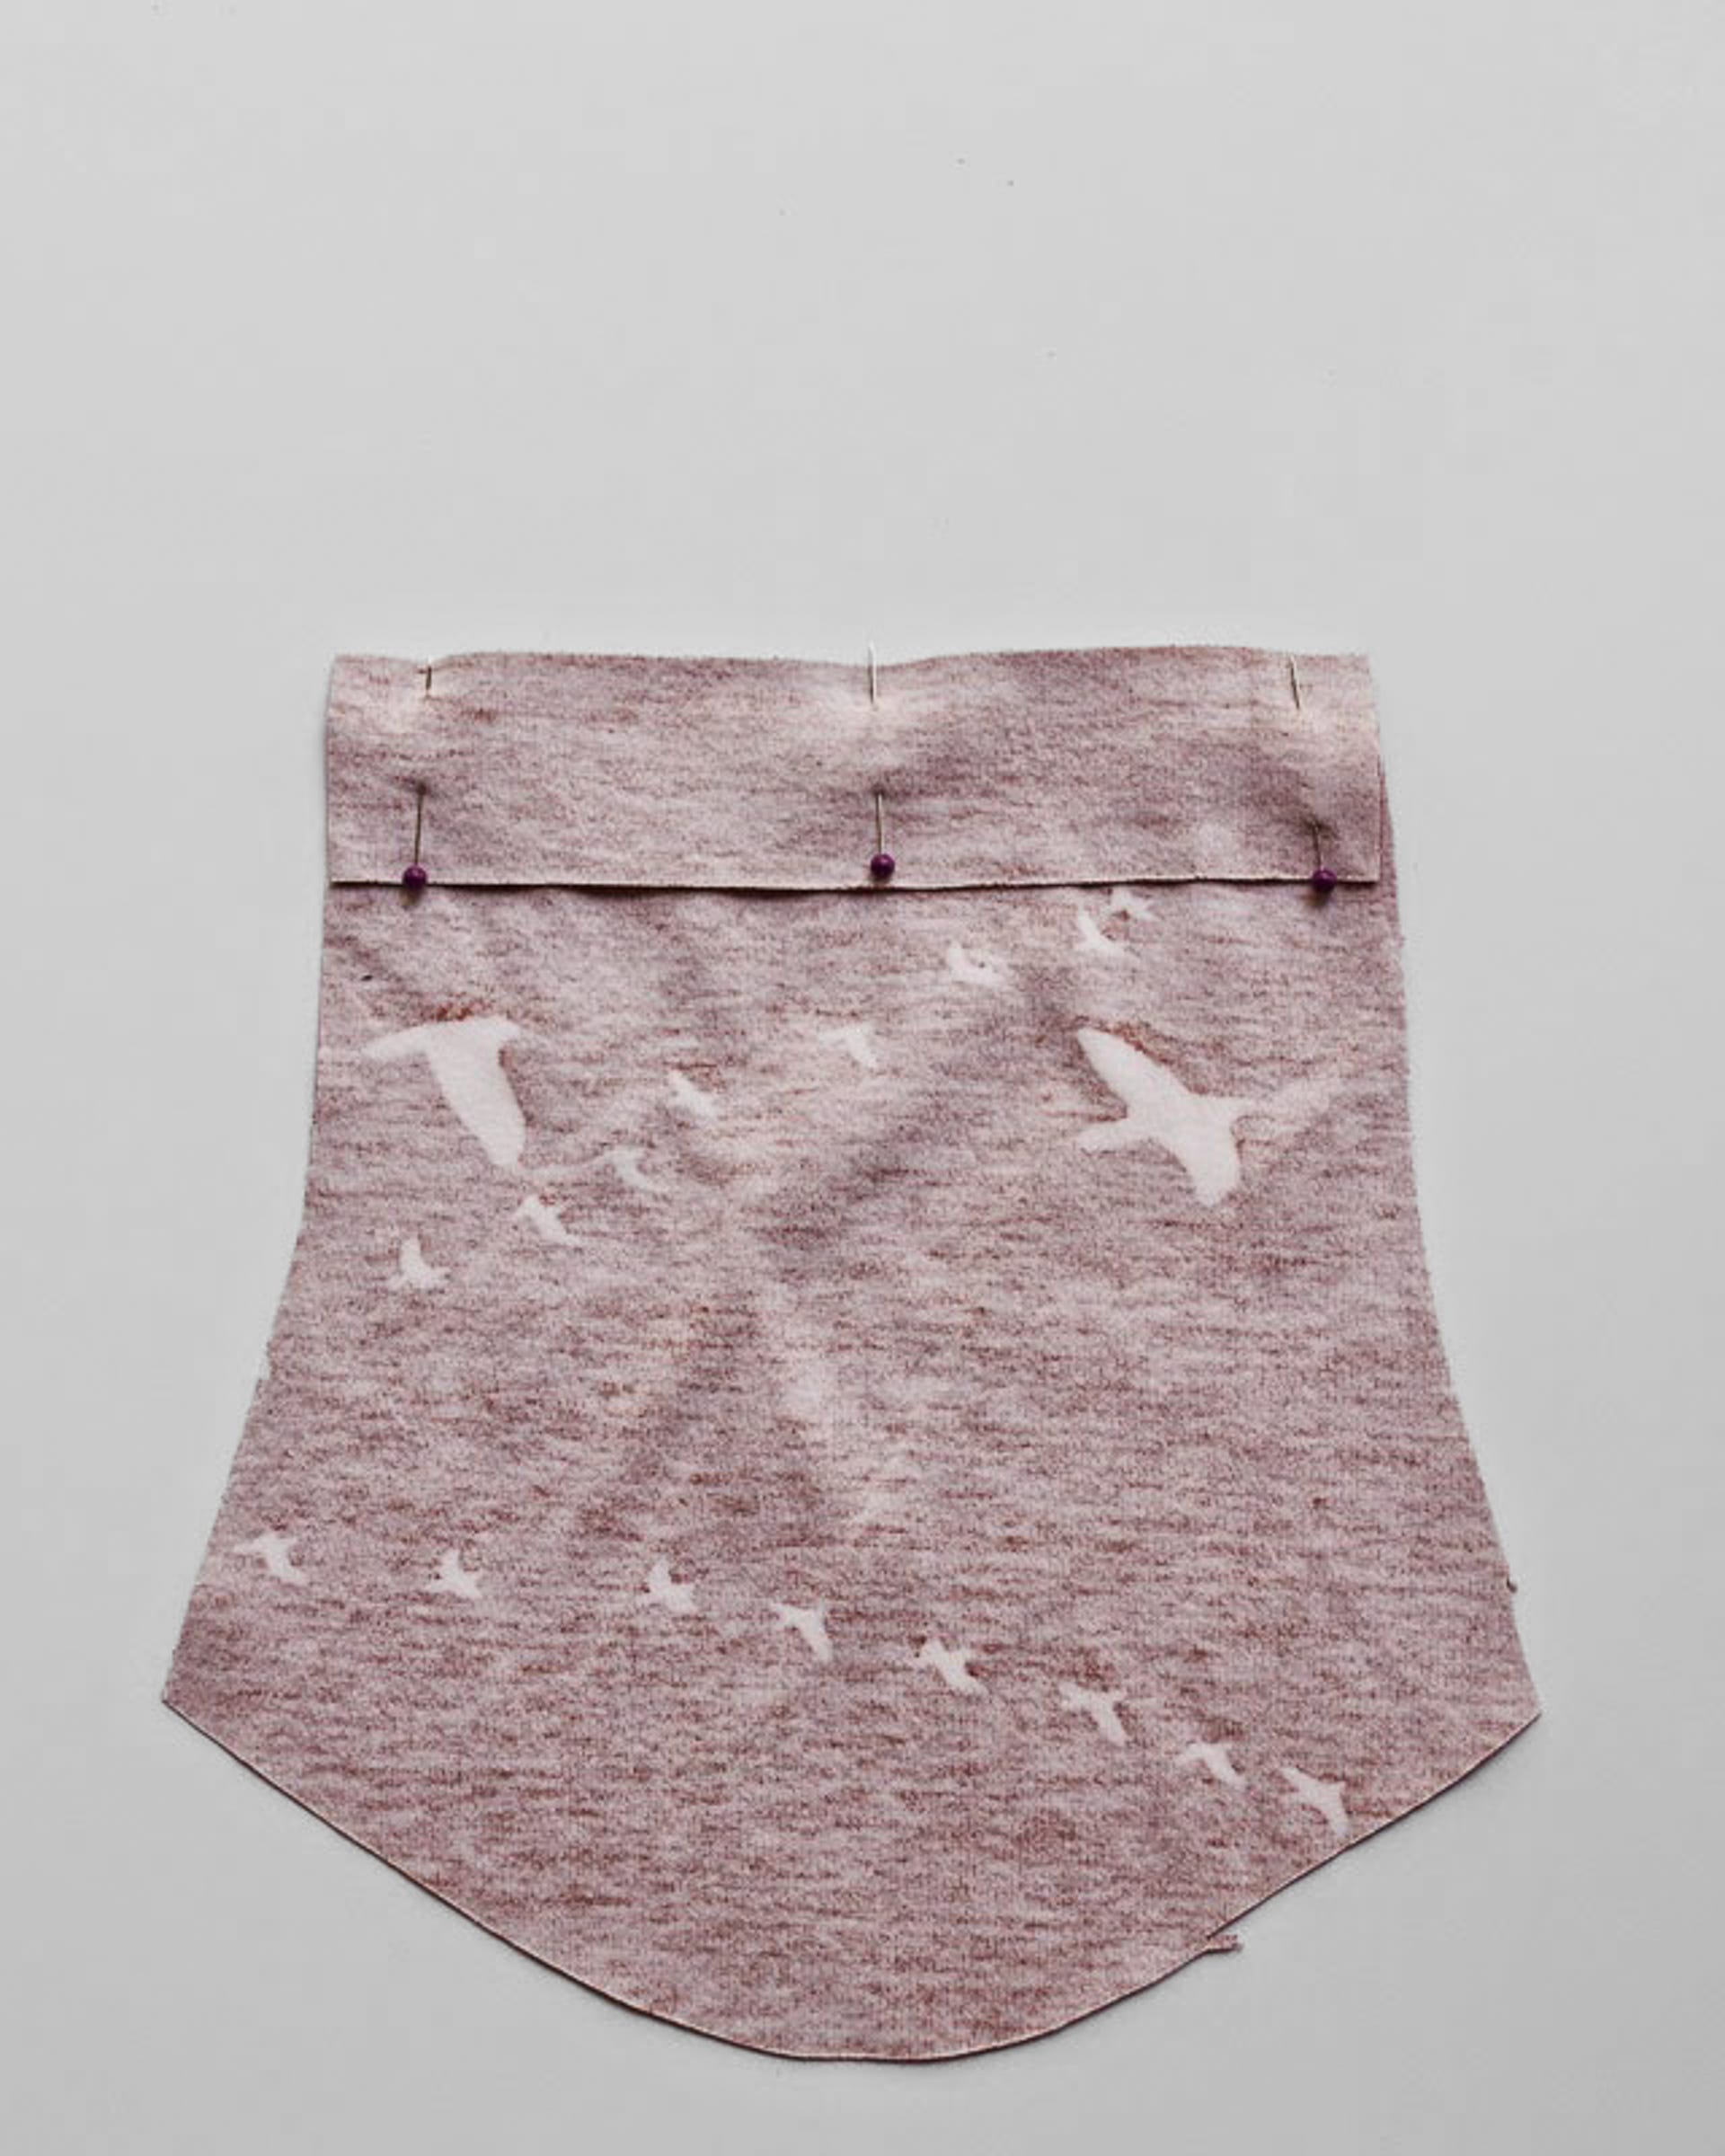
Sew with a ¼" seam allowance.
Press the binding strips up.

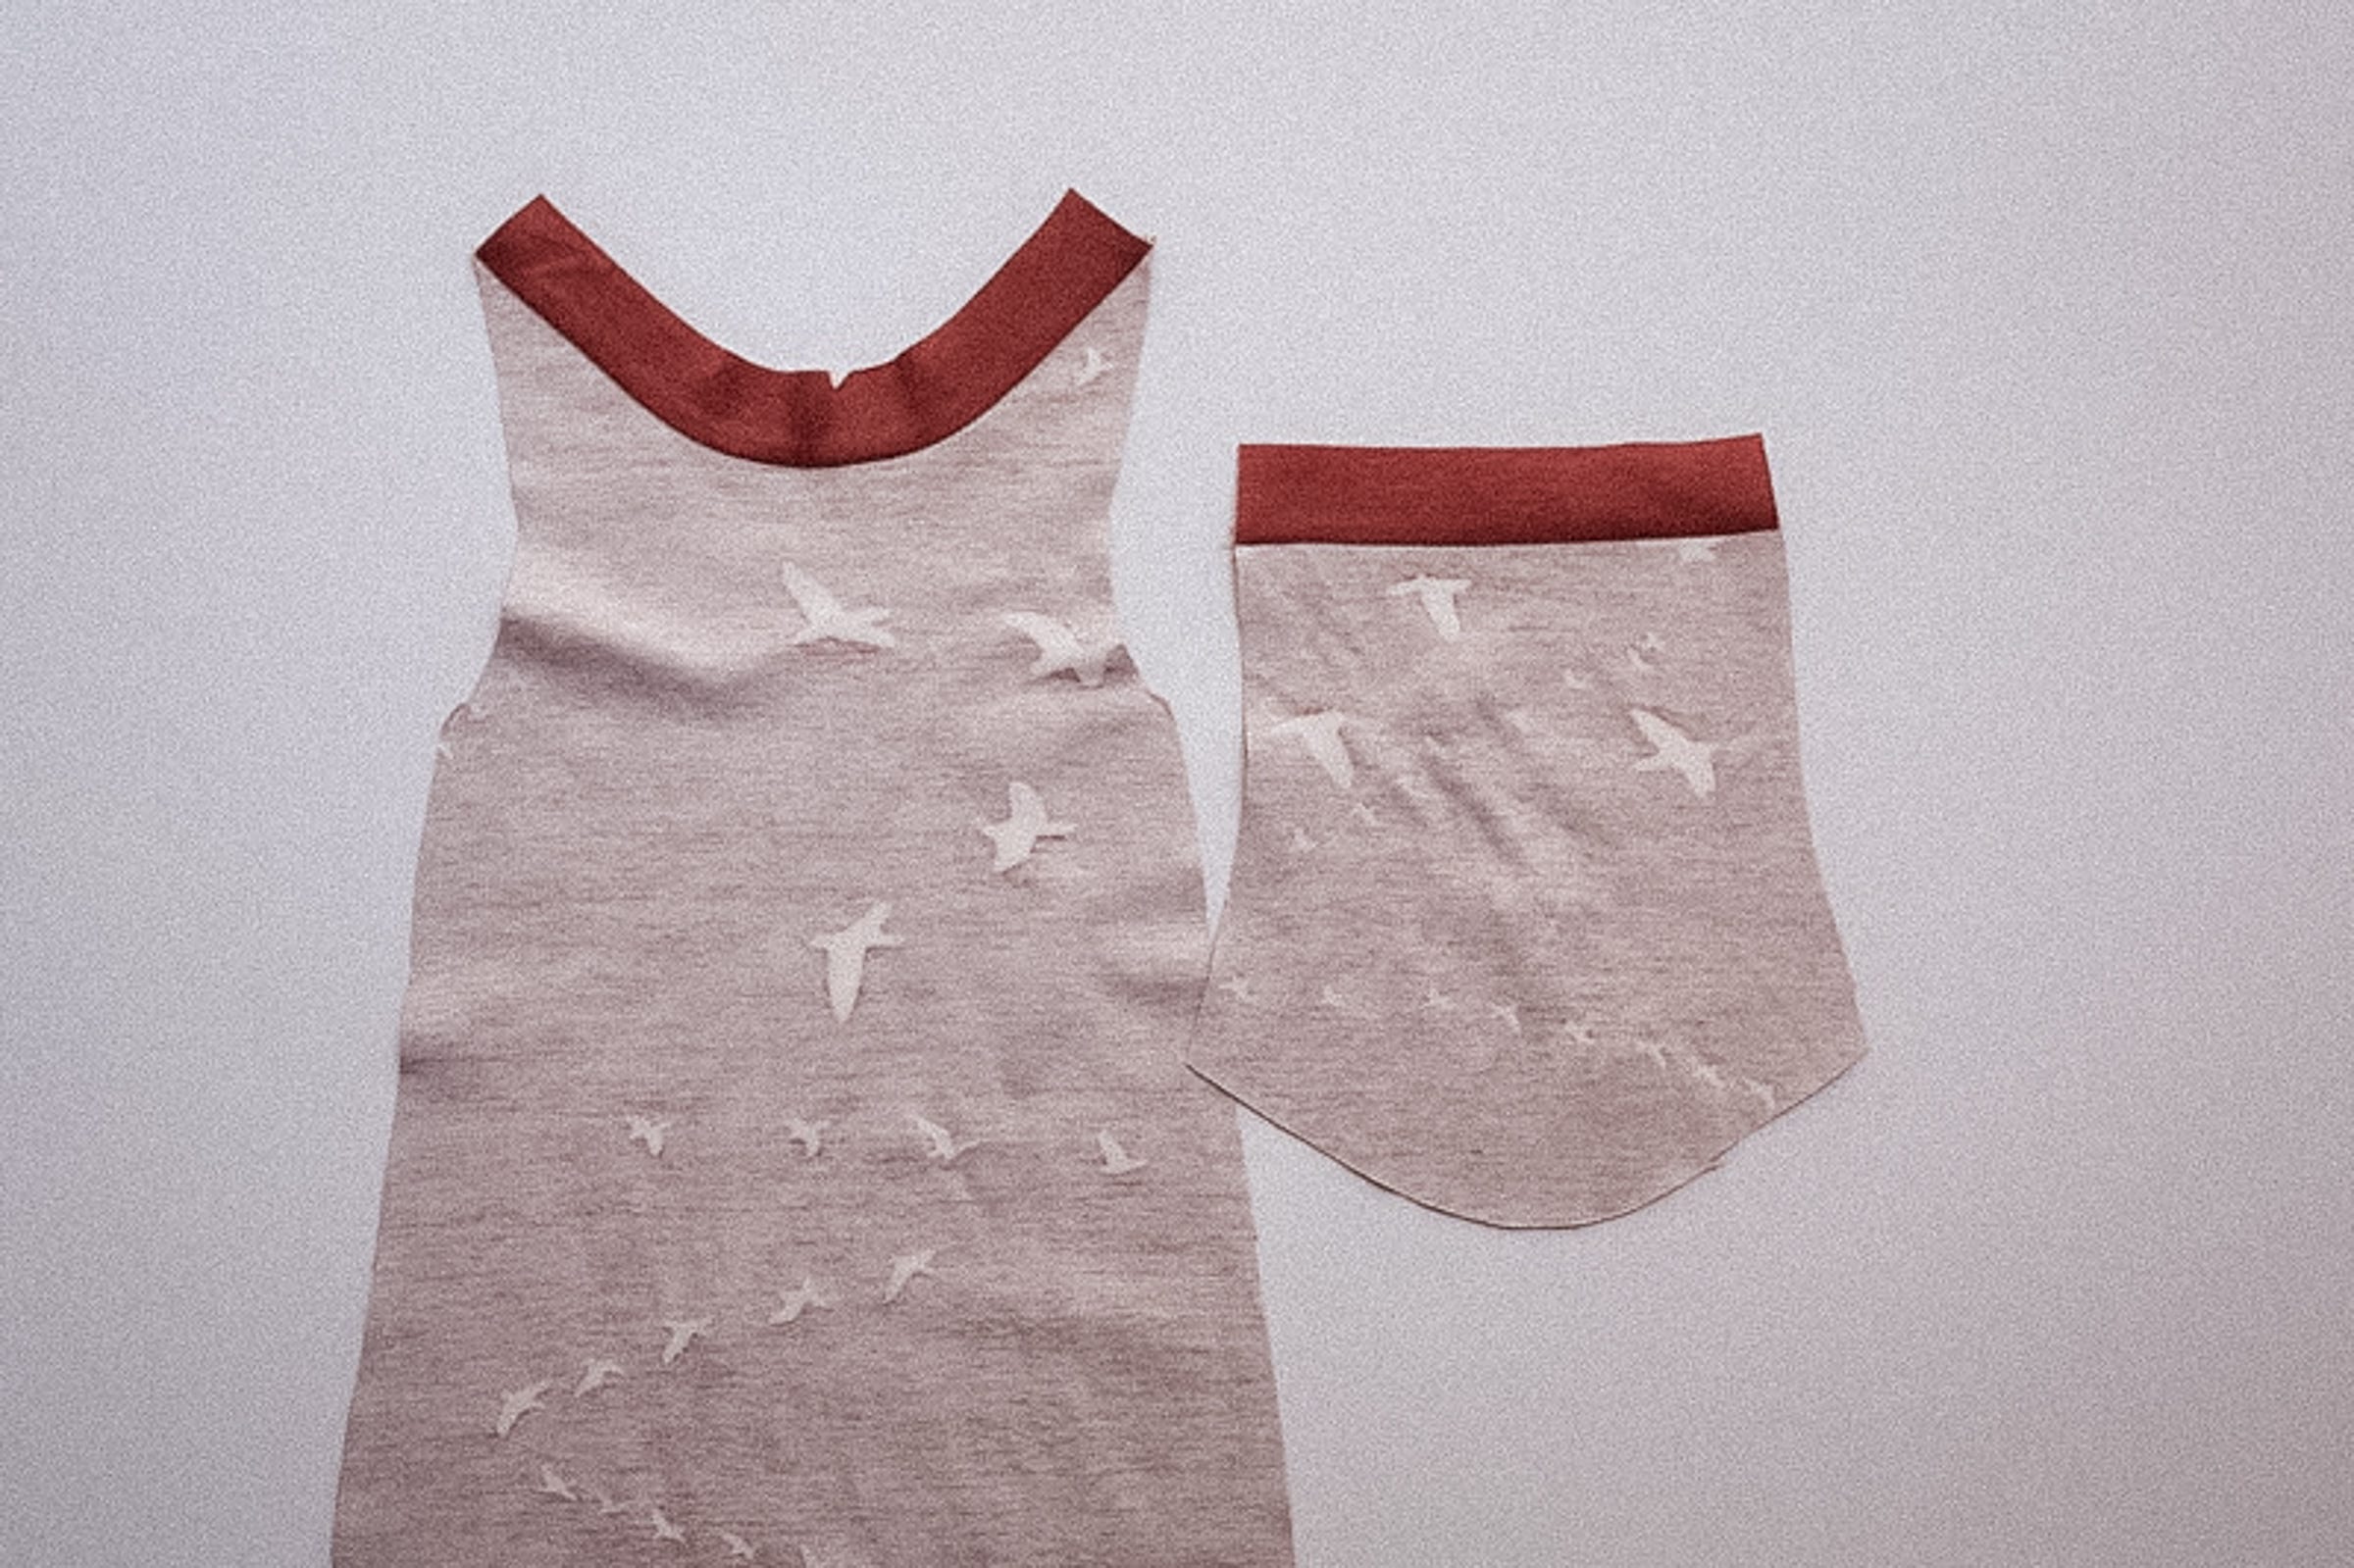
Turn to the right side, fold the raw edge under by ⅜", and press again.
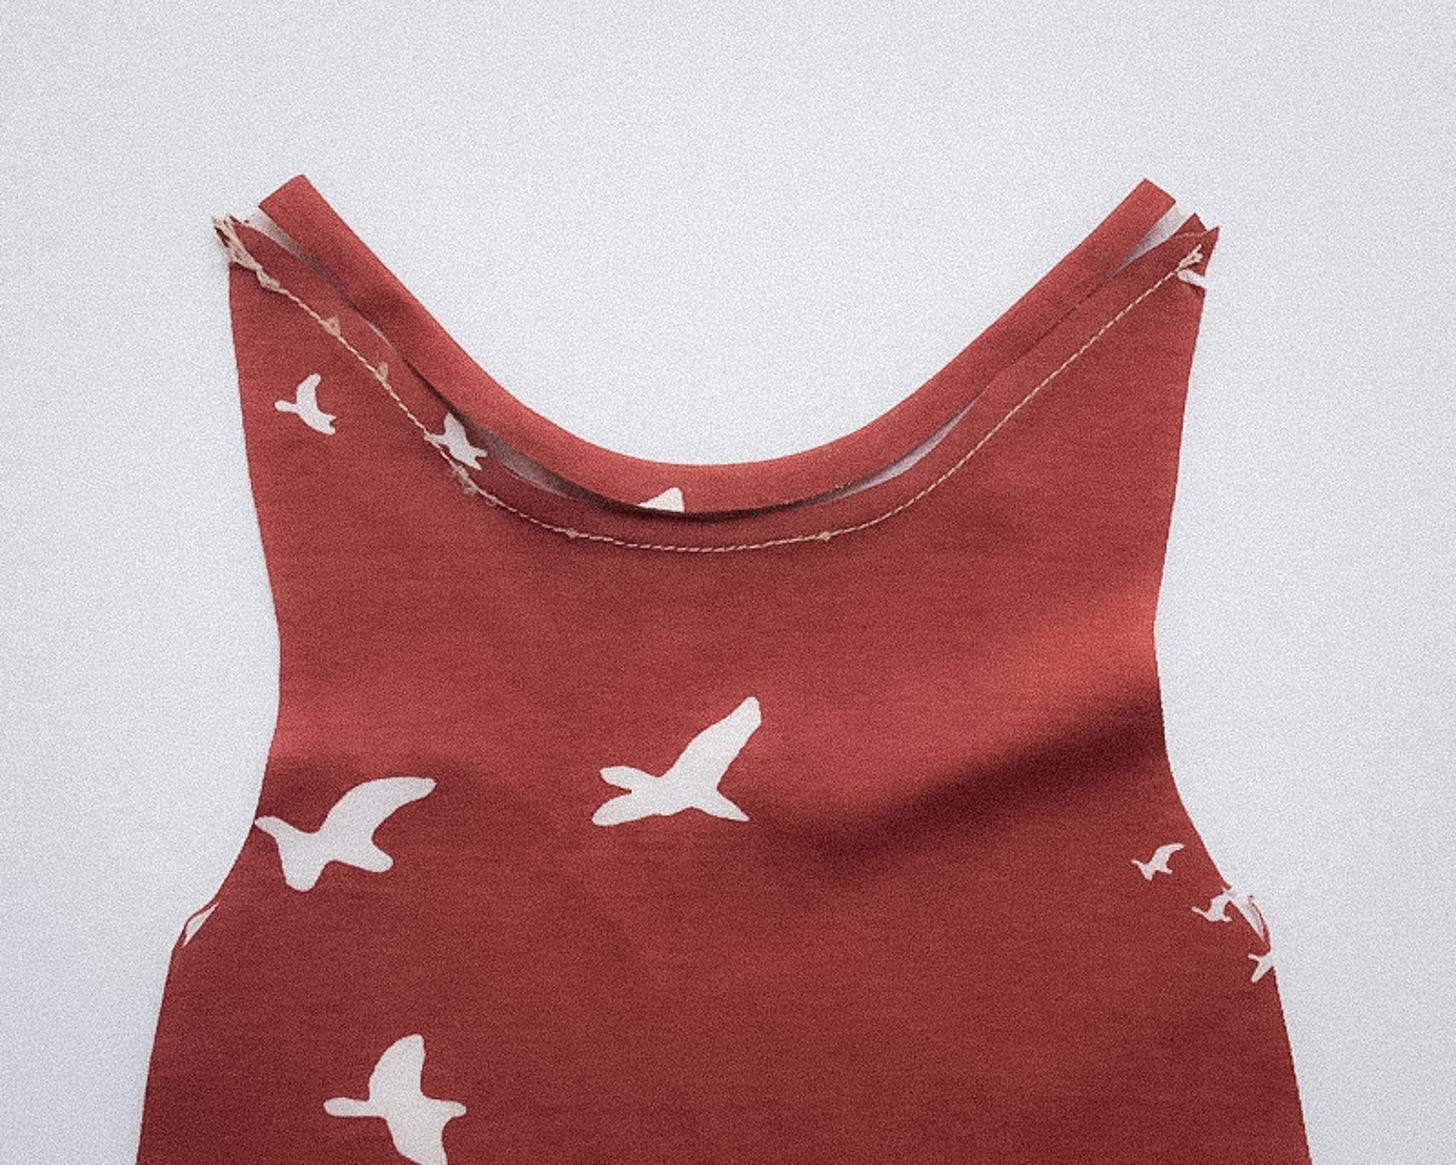
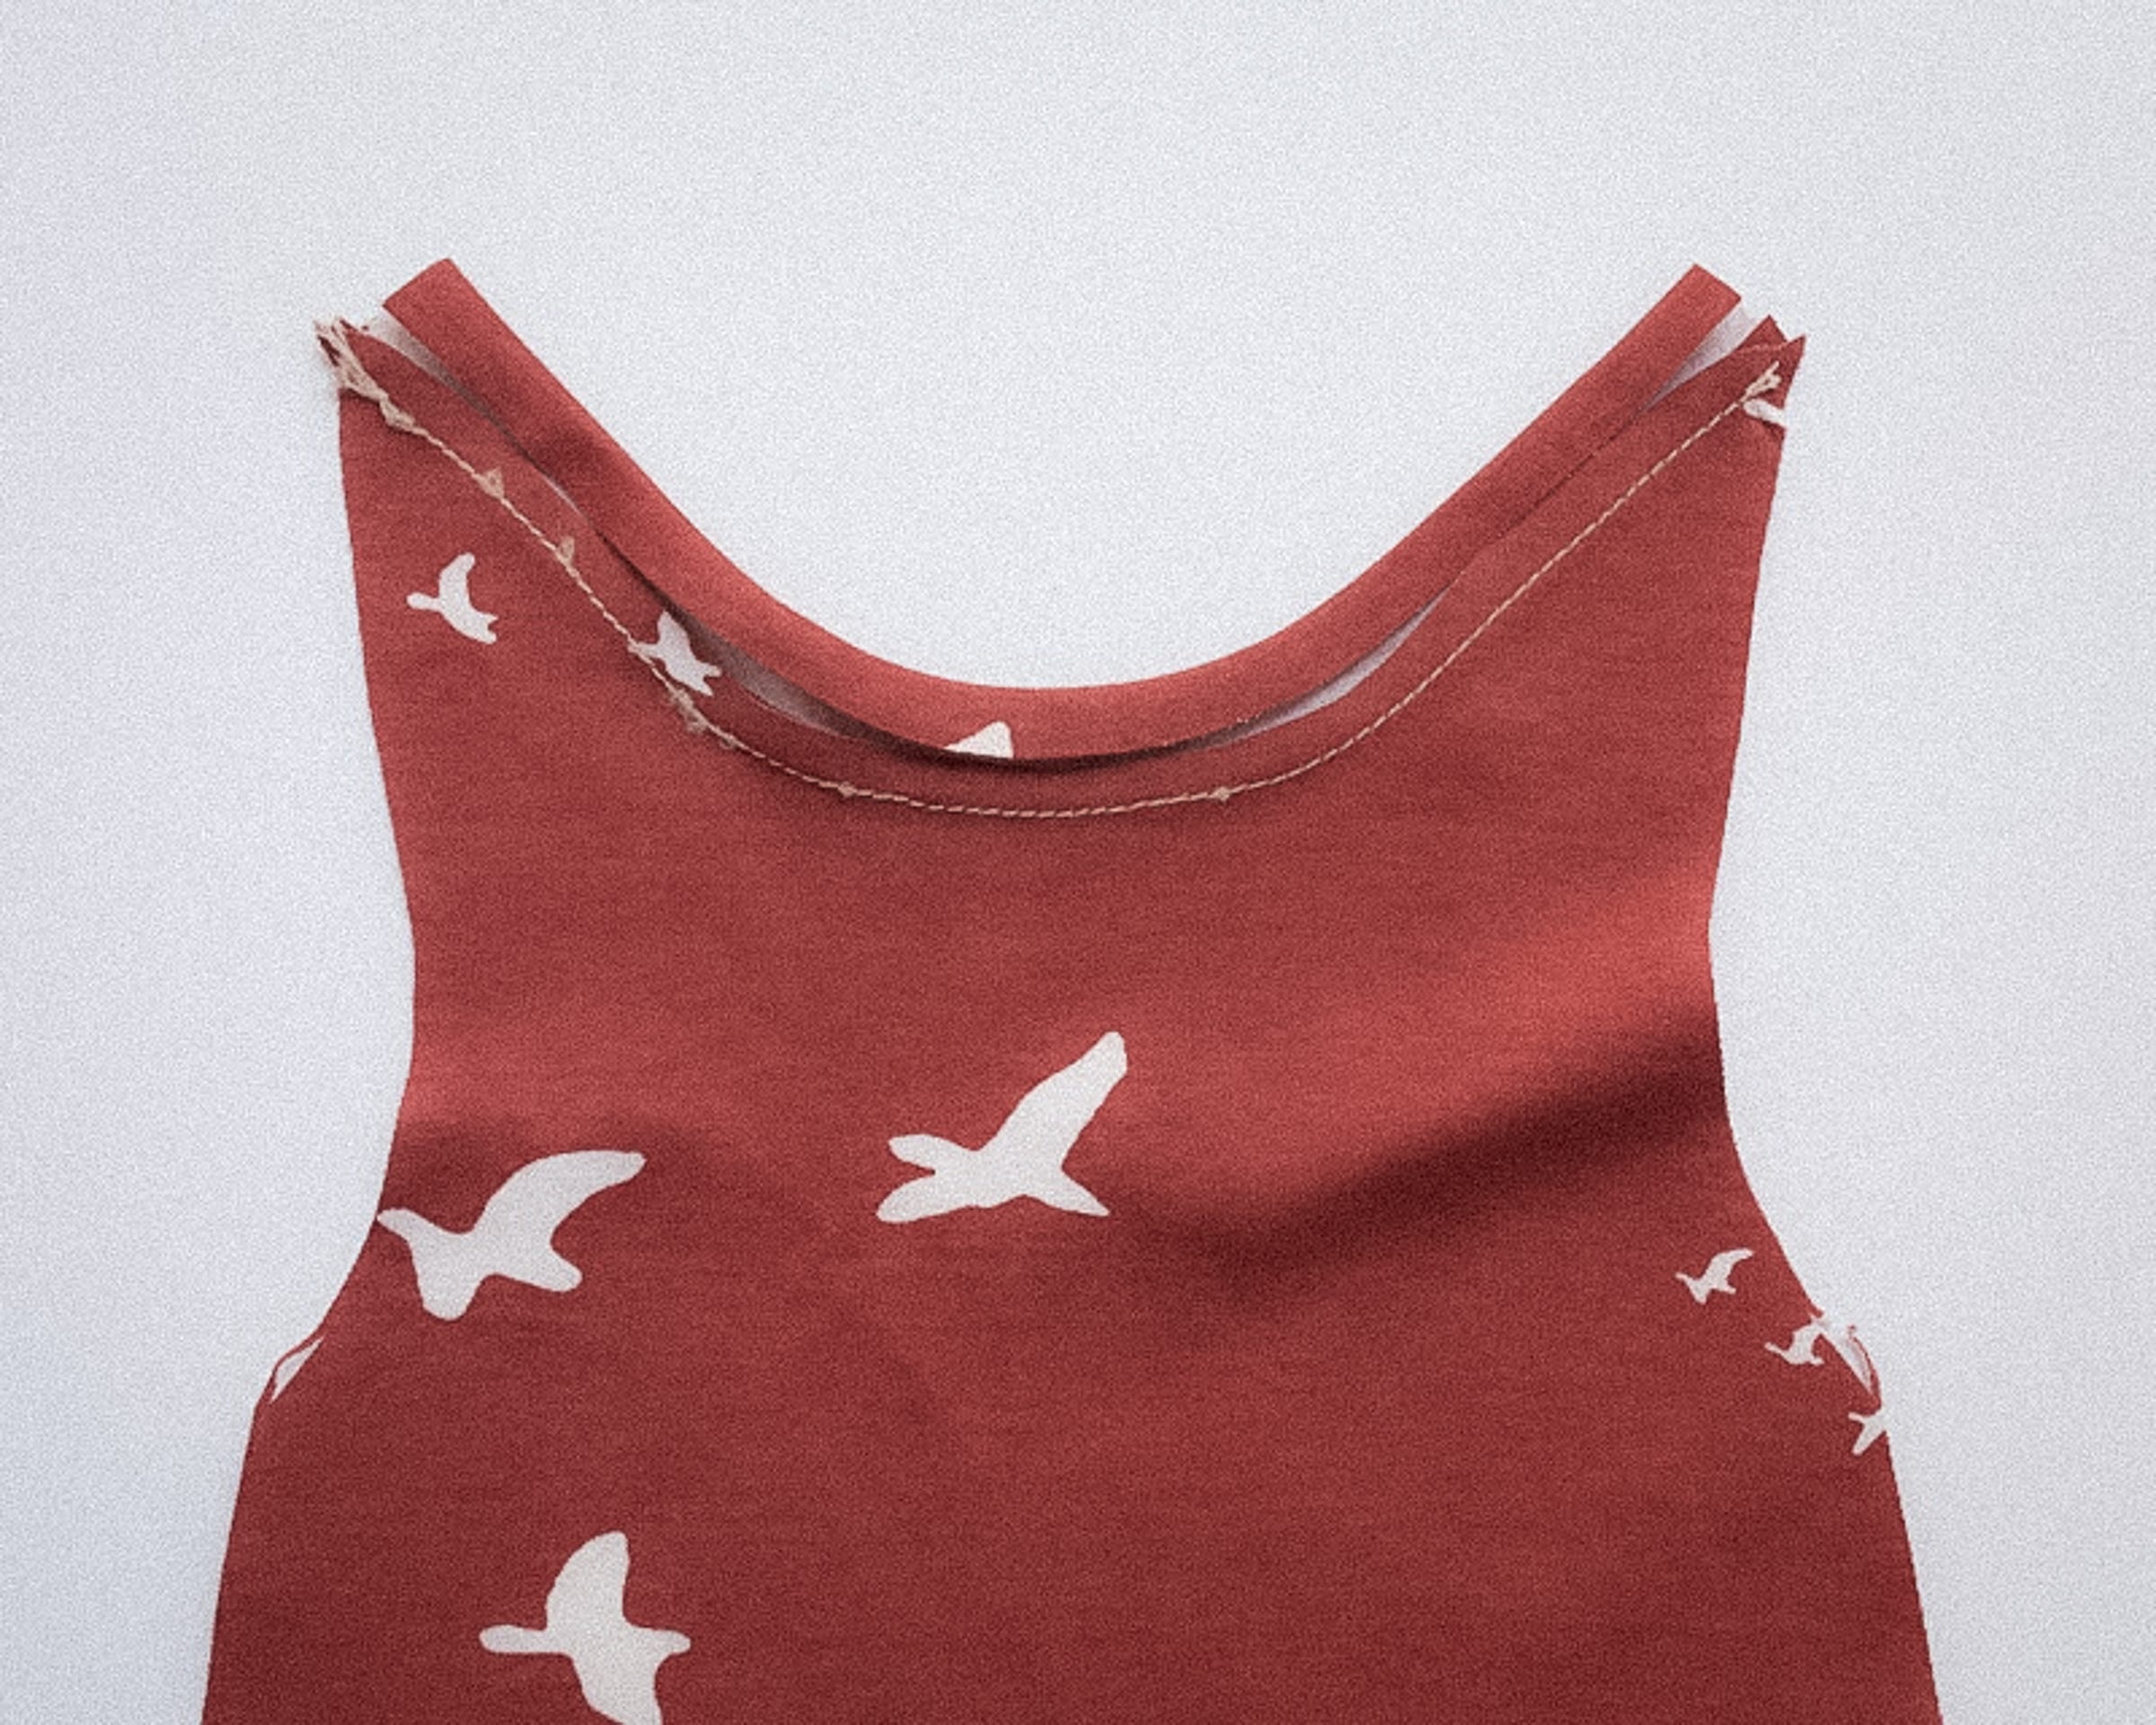
Fold the pressed edge over to cover the stitch line. Edgestitch in place.
Recommendation: I’ve tried edgestitching with a double needle, a straight stitch, and a narrow zigzag. I now prefer the narrow zigzag (0.5mm width, 2.5–3.0 length)—it’s the most durable.
For the Cuff Option:
Fold each cuff in half lengthwise, wrong sides together, to create a folded piece that is 1.25 inches tall.
Align the raw edges of the cuff with the raw edge of the sleeve, right sides together, and sew using a ¼-inch seam allowance. Press the seam toward the sleeve and topstitch if desired. The finished cuff will be approximately 1 inch tall, adding a soft and stretchy finish to the sleeve.
Sew the Gown Body:
Place the back gown piece on top of the front, overlapping between the notches (as indicated on the pattern pieces). Pin, then baste.
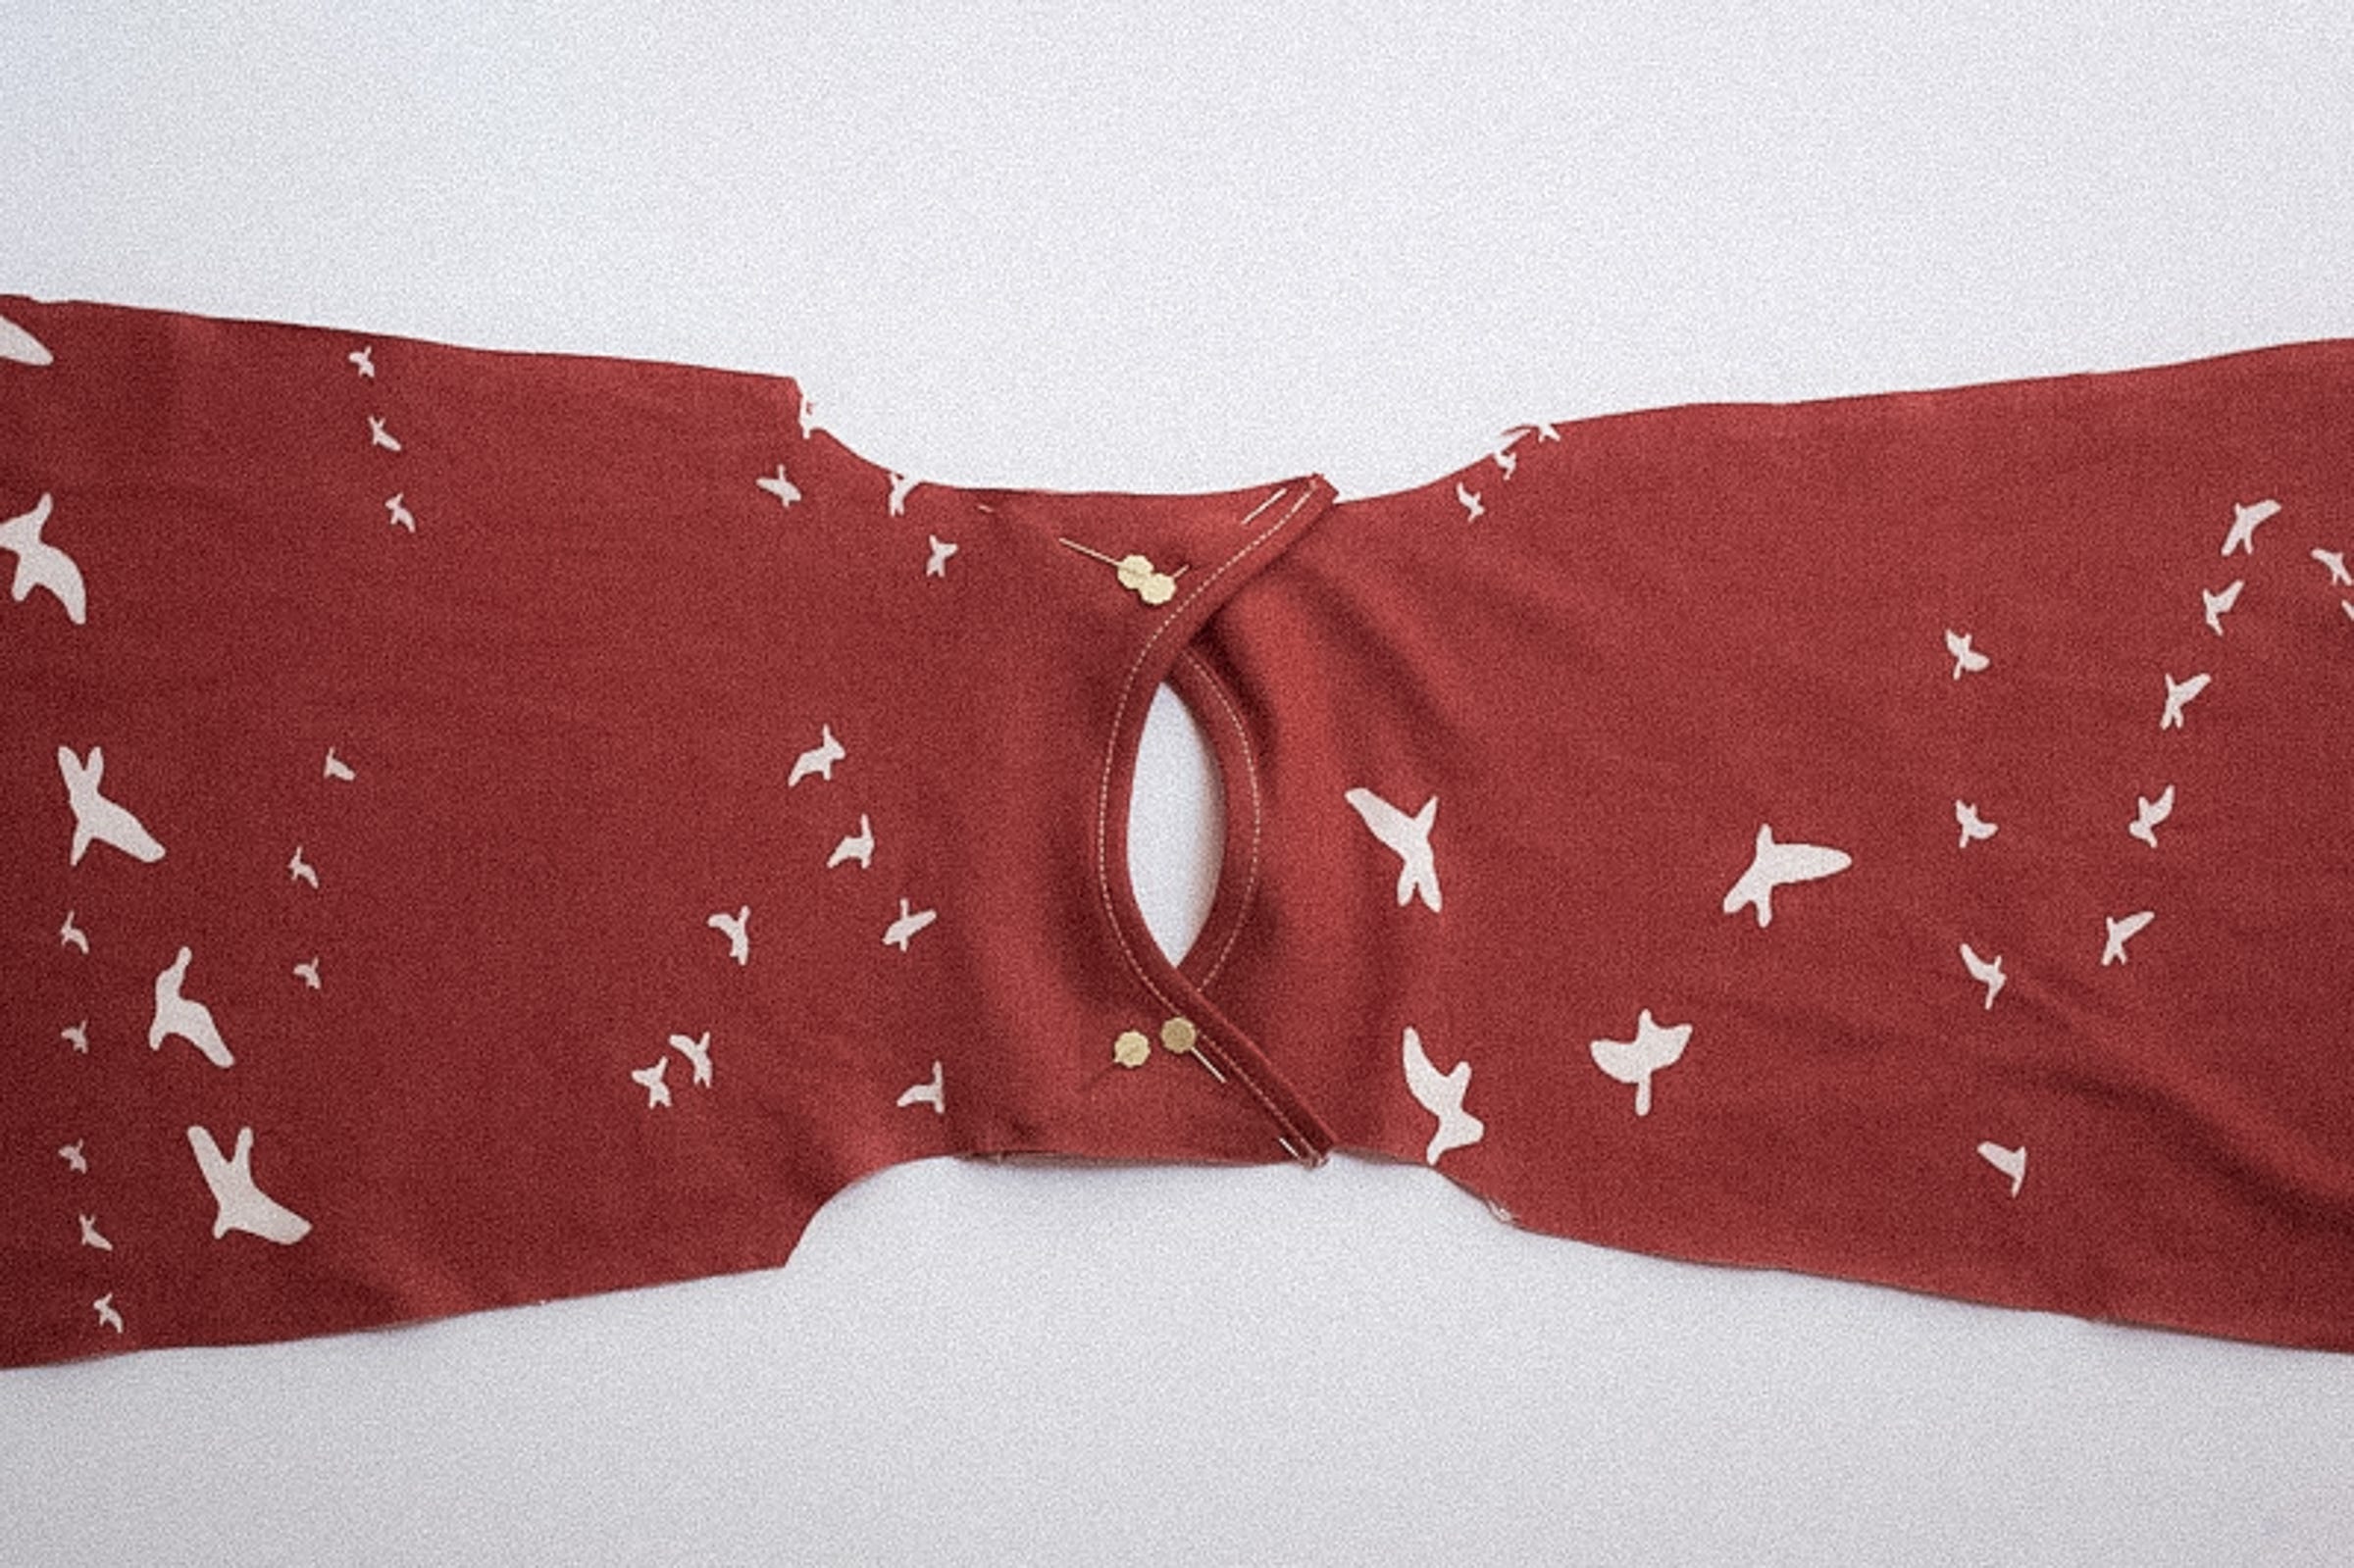
Fold the gown in half at the shoulder to find the center point. Mark it with chalk or a pin.
Sew the Sleeves to the Gown Body:
Match the center point at the gown shoulder to the center point of the sleeve
(fold the sleeve in half to find its midpoint if needed).
Make sure the right sides are together.
Pin together at the center and both ends. Add more pins as needed.

Sew the sleeve to the body, right sides together.
Repeat on the other side.

Sew the Sleeve and Side Seams:
Turn the gown onto itself, right sides together. Pin, matching sleeve bindings, if applicable, and side seams.
(Sometimes knit fabric will shift a little during cutting and the gown might be slightly off at the bottom edge. If this happens, just trim the edge so it is even.)
Sew the seam in one continuous line—from the sleeve edge down to the bottom hem—pivoting at the point where the sleeve meets the side seam. A narrow zigzag stitch (0.5 mm width and 2.5–3.0 mm length) works well for this step.
Repeat on the other side.
If your seam gets wavy at this step (or ever) just press it well with an iron and that should take care of it!
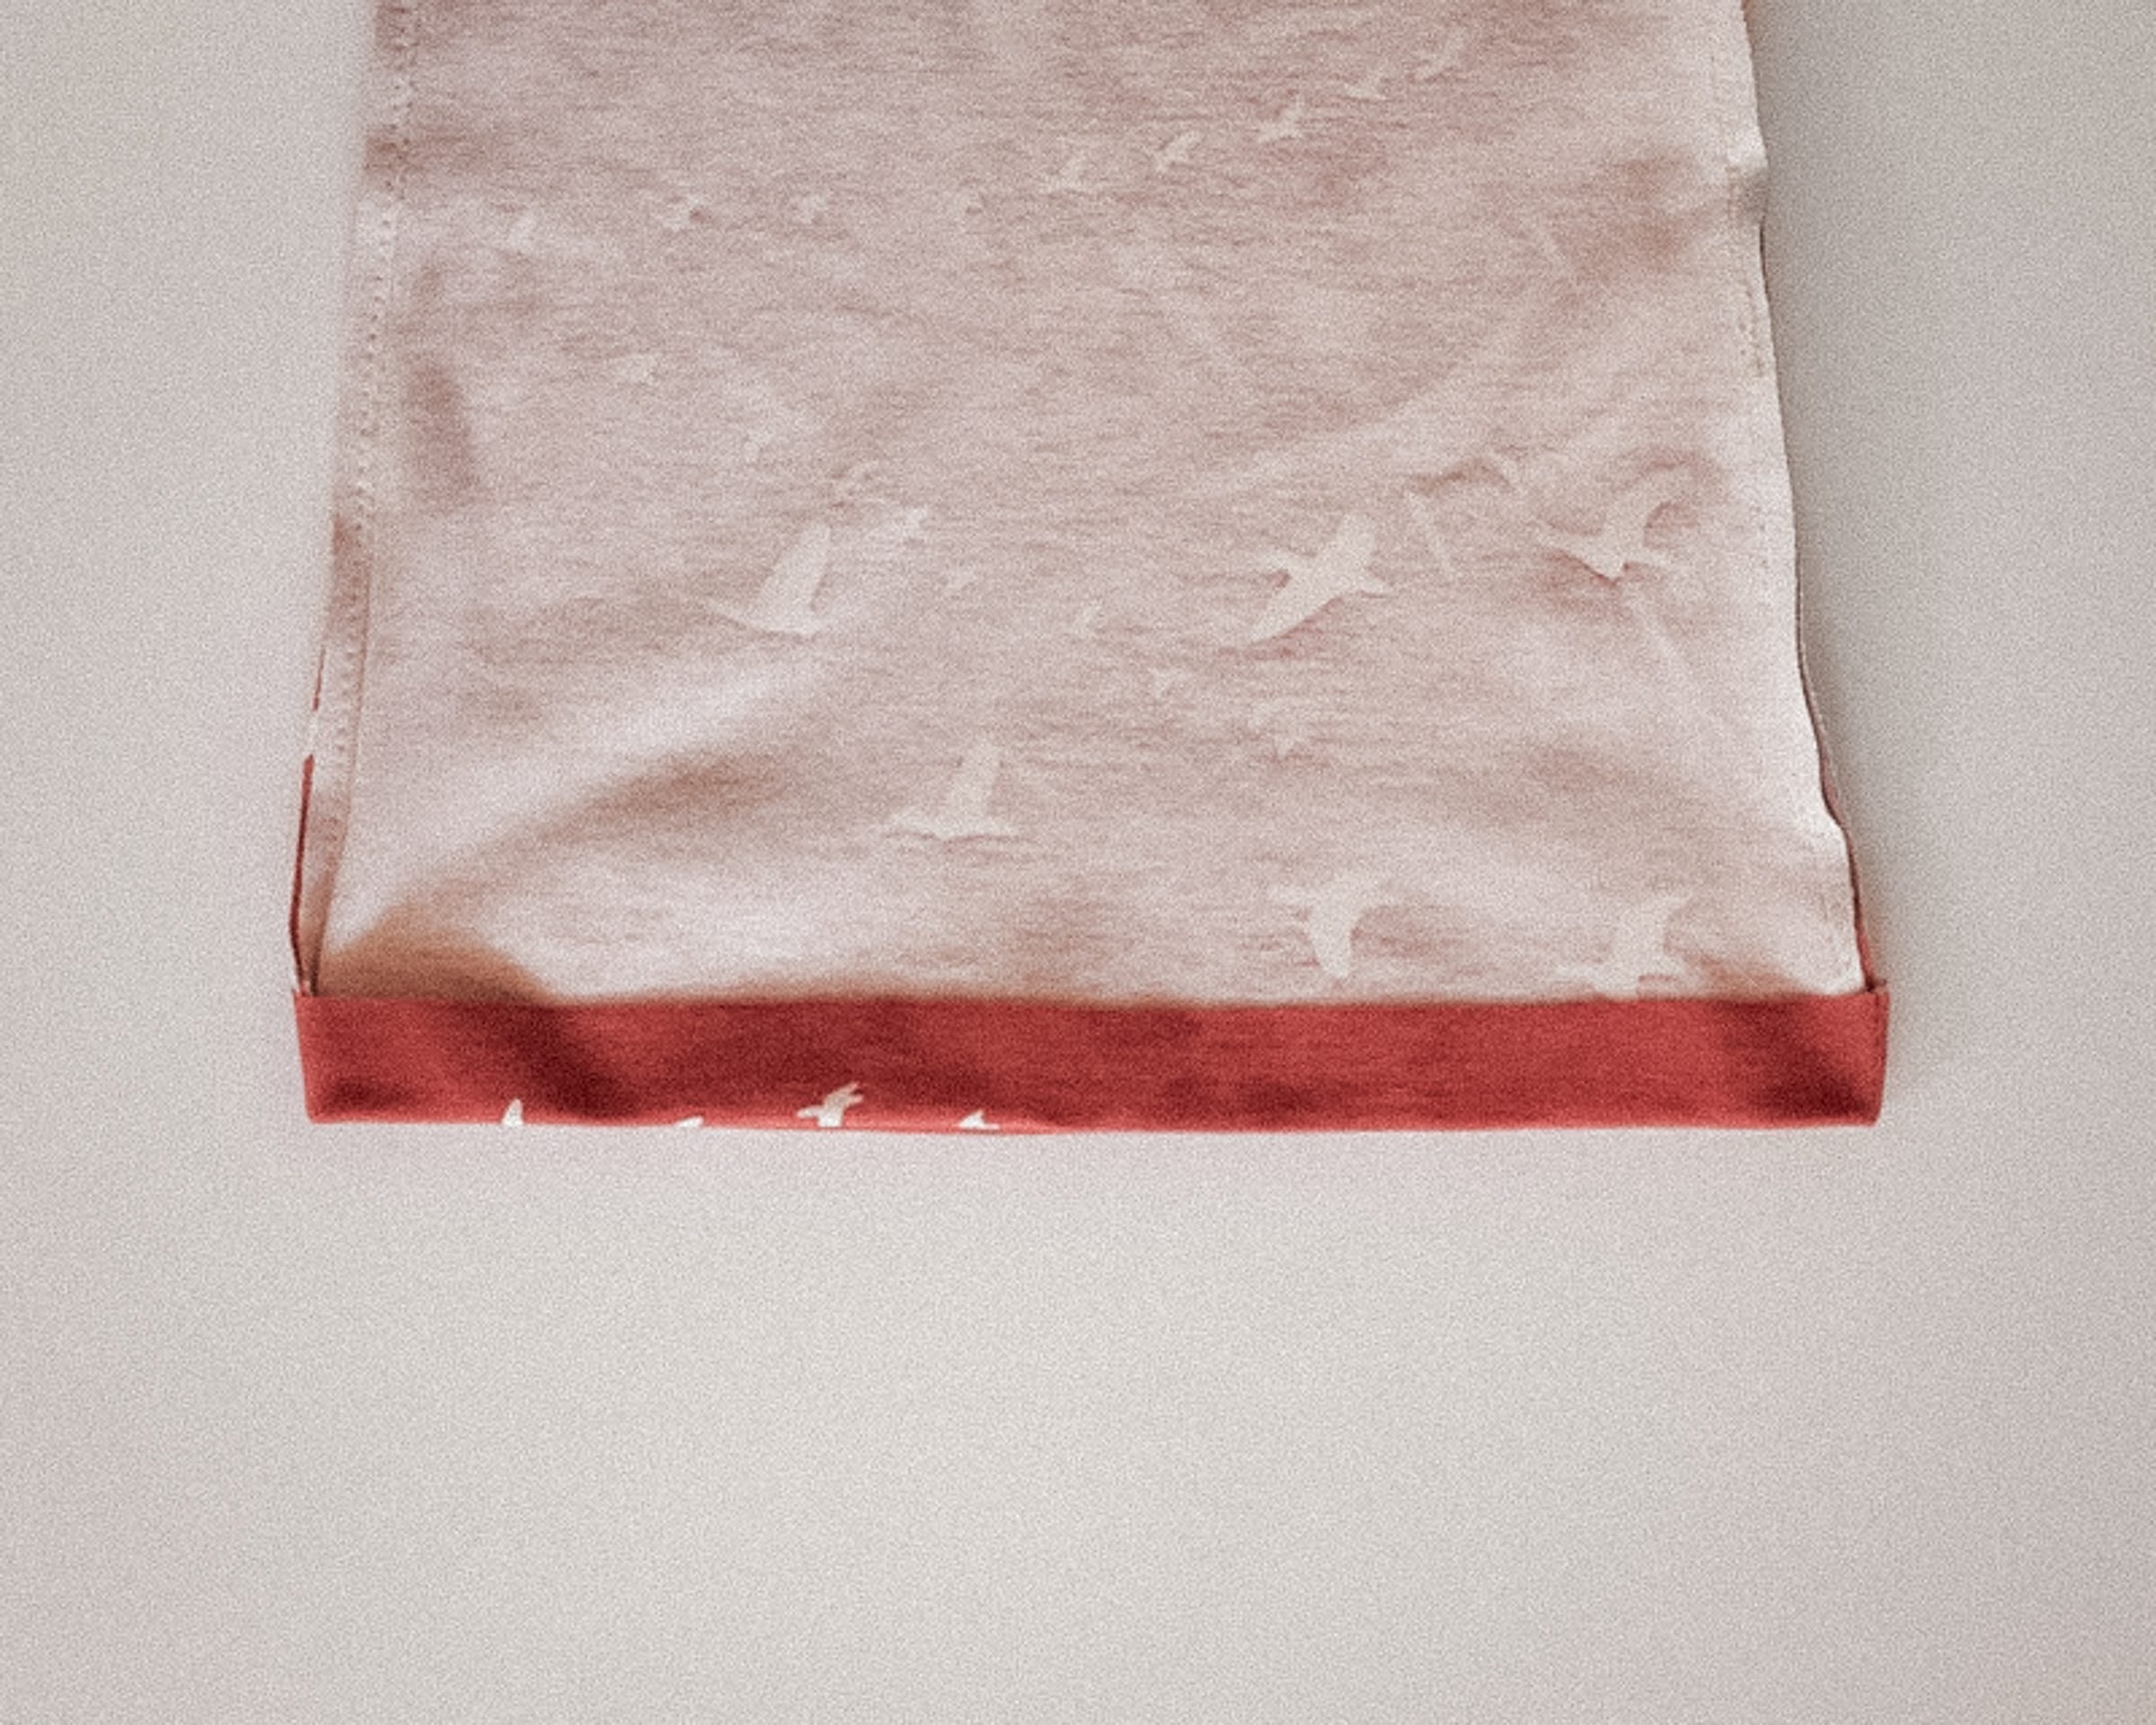
Bottom Hem and Elastic:
Press the bottom edge up 1 inch to form a hem casing. Since knit fabrics do not fray, I don’t finish the raw edge.
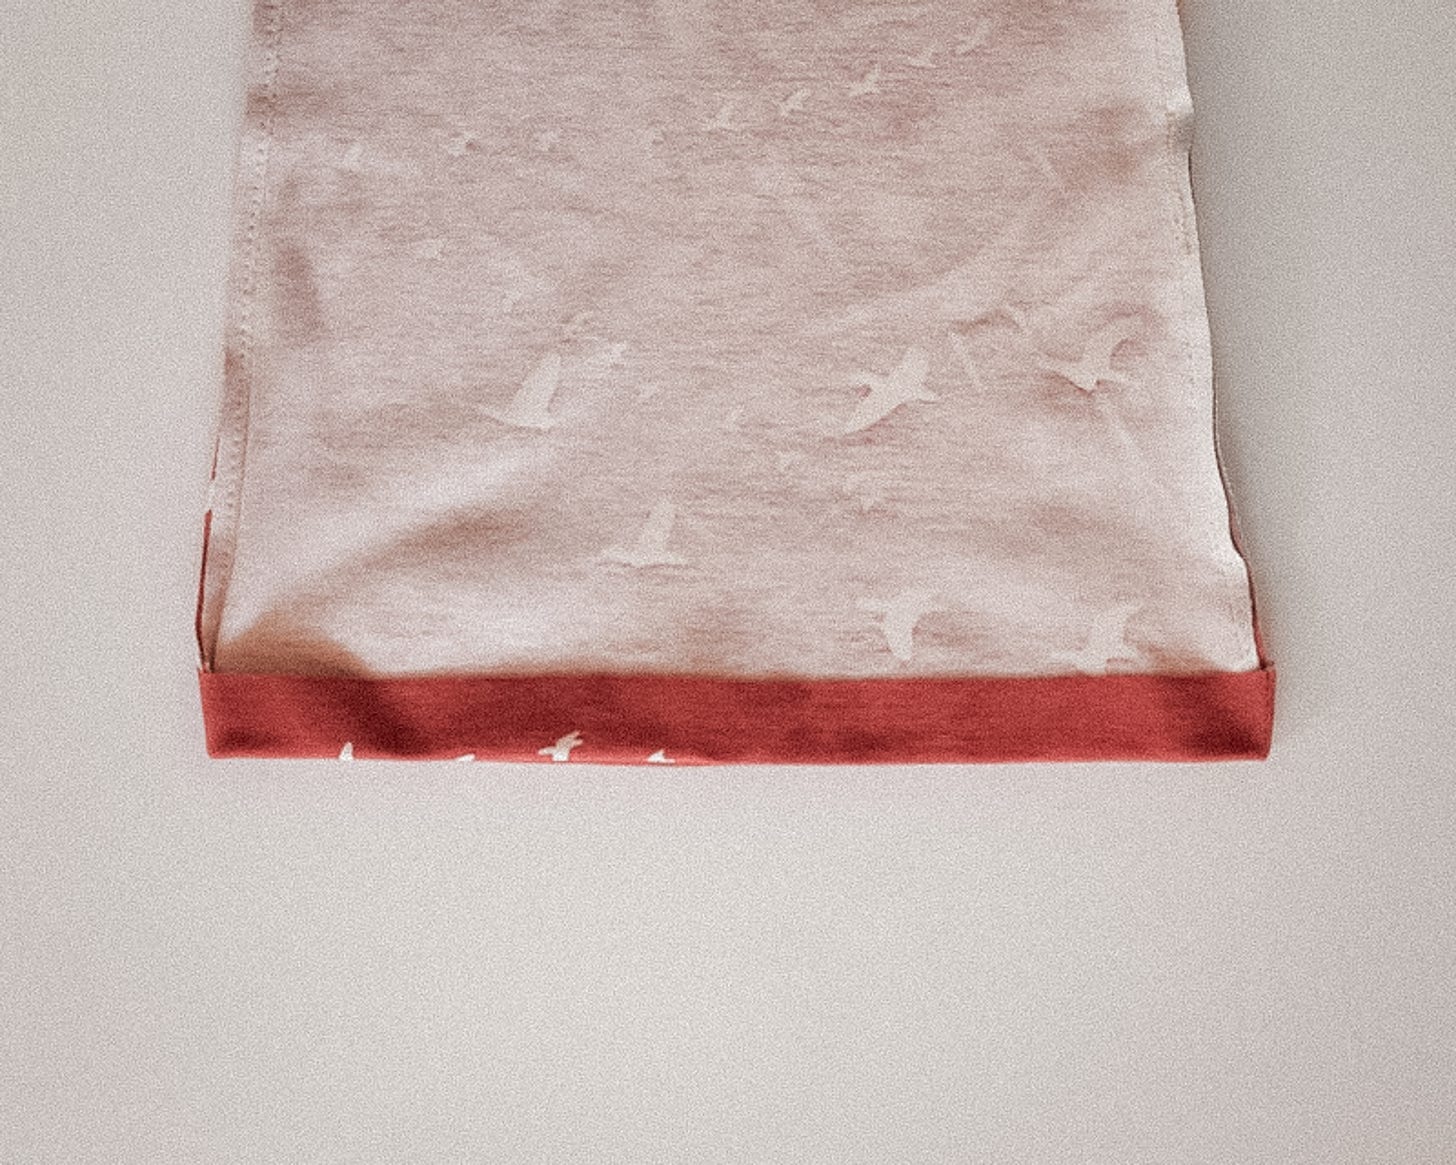
Stitch using a straight stitch with a double needle, a stretch stitch or a zig zag stitch, with a 6/8" seam allowance. Leave 1-2" open to insert the elastic.
I recommend using a zigzag stitch.
Thread your 16" piece of elastic through the casing using a safety pin attached to one end of the elastic. Stitch the short ends of the elastic together securely, making sure the elastic is not twisted. Then stitch the opening of the hem casing closed.
If you haven’t hemmed the sleeves yet, do so now:
Press sleeve edges to the wrong side by ½ inch
Hem using a ⅜" seam allowance and a narrow zigzag stitch
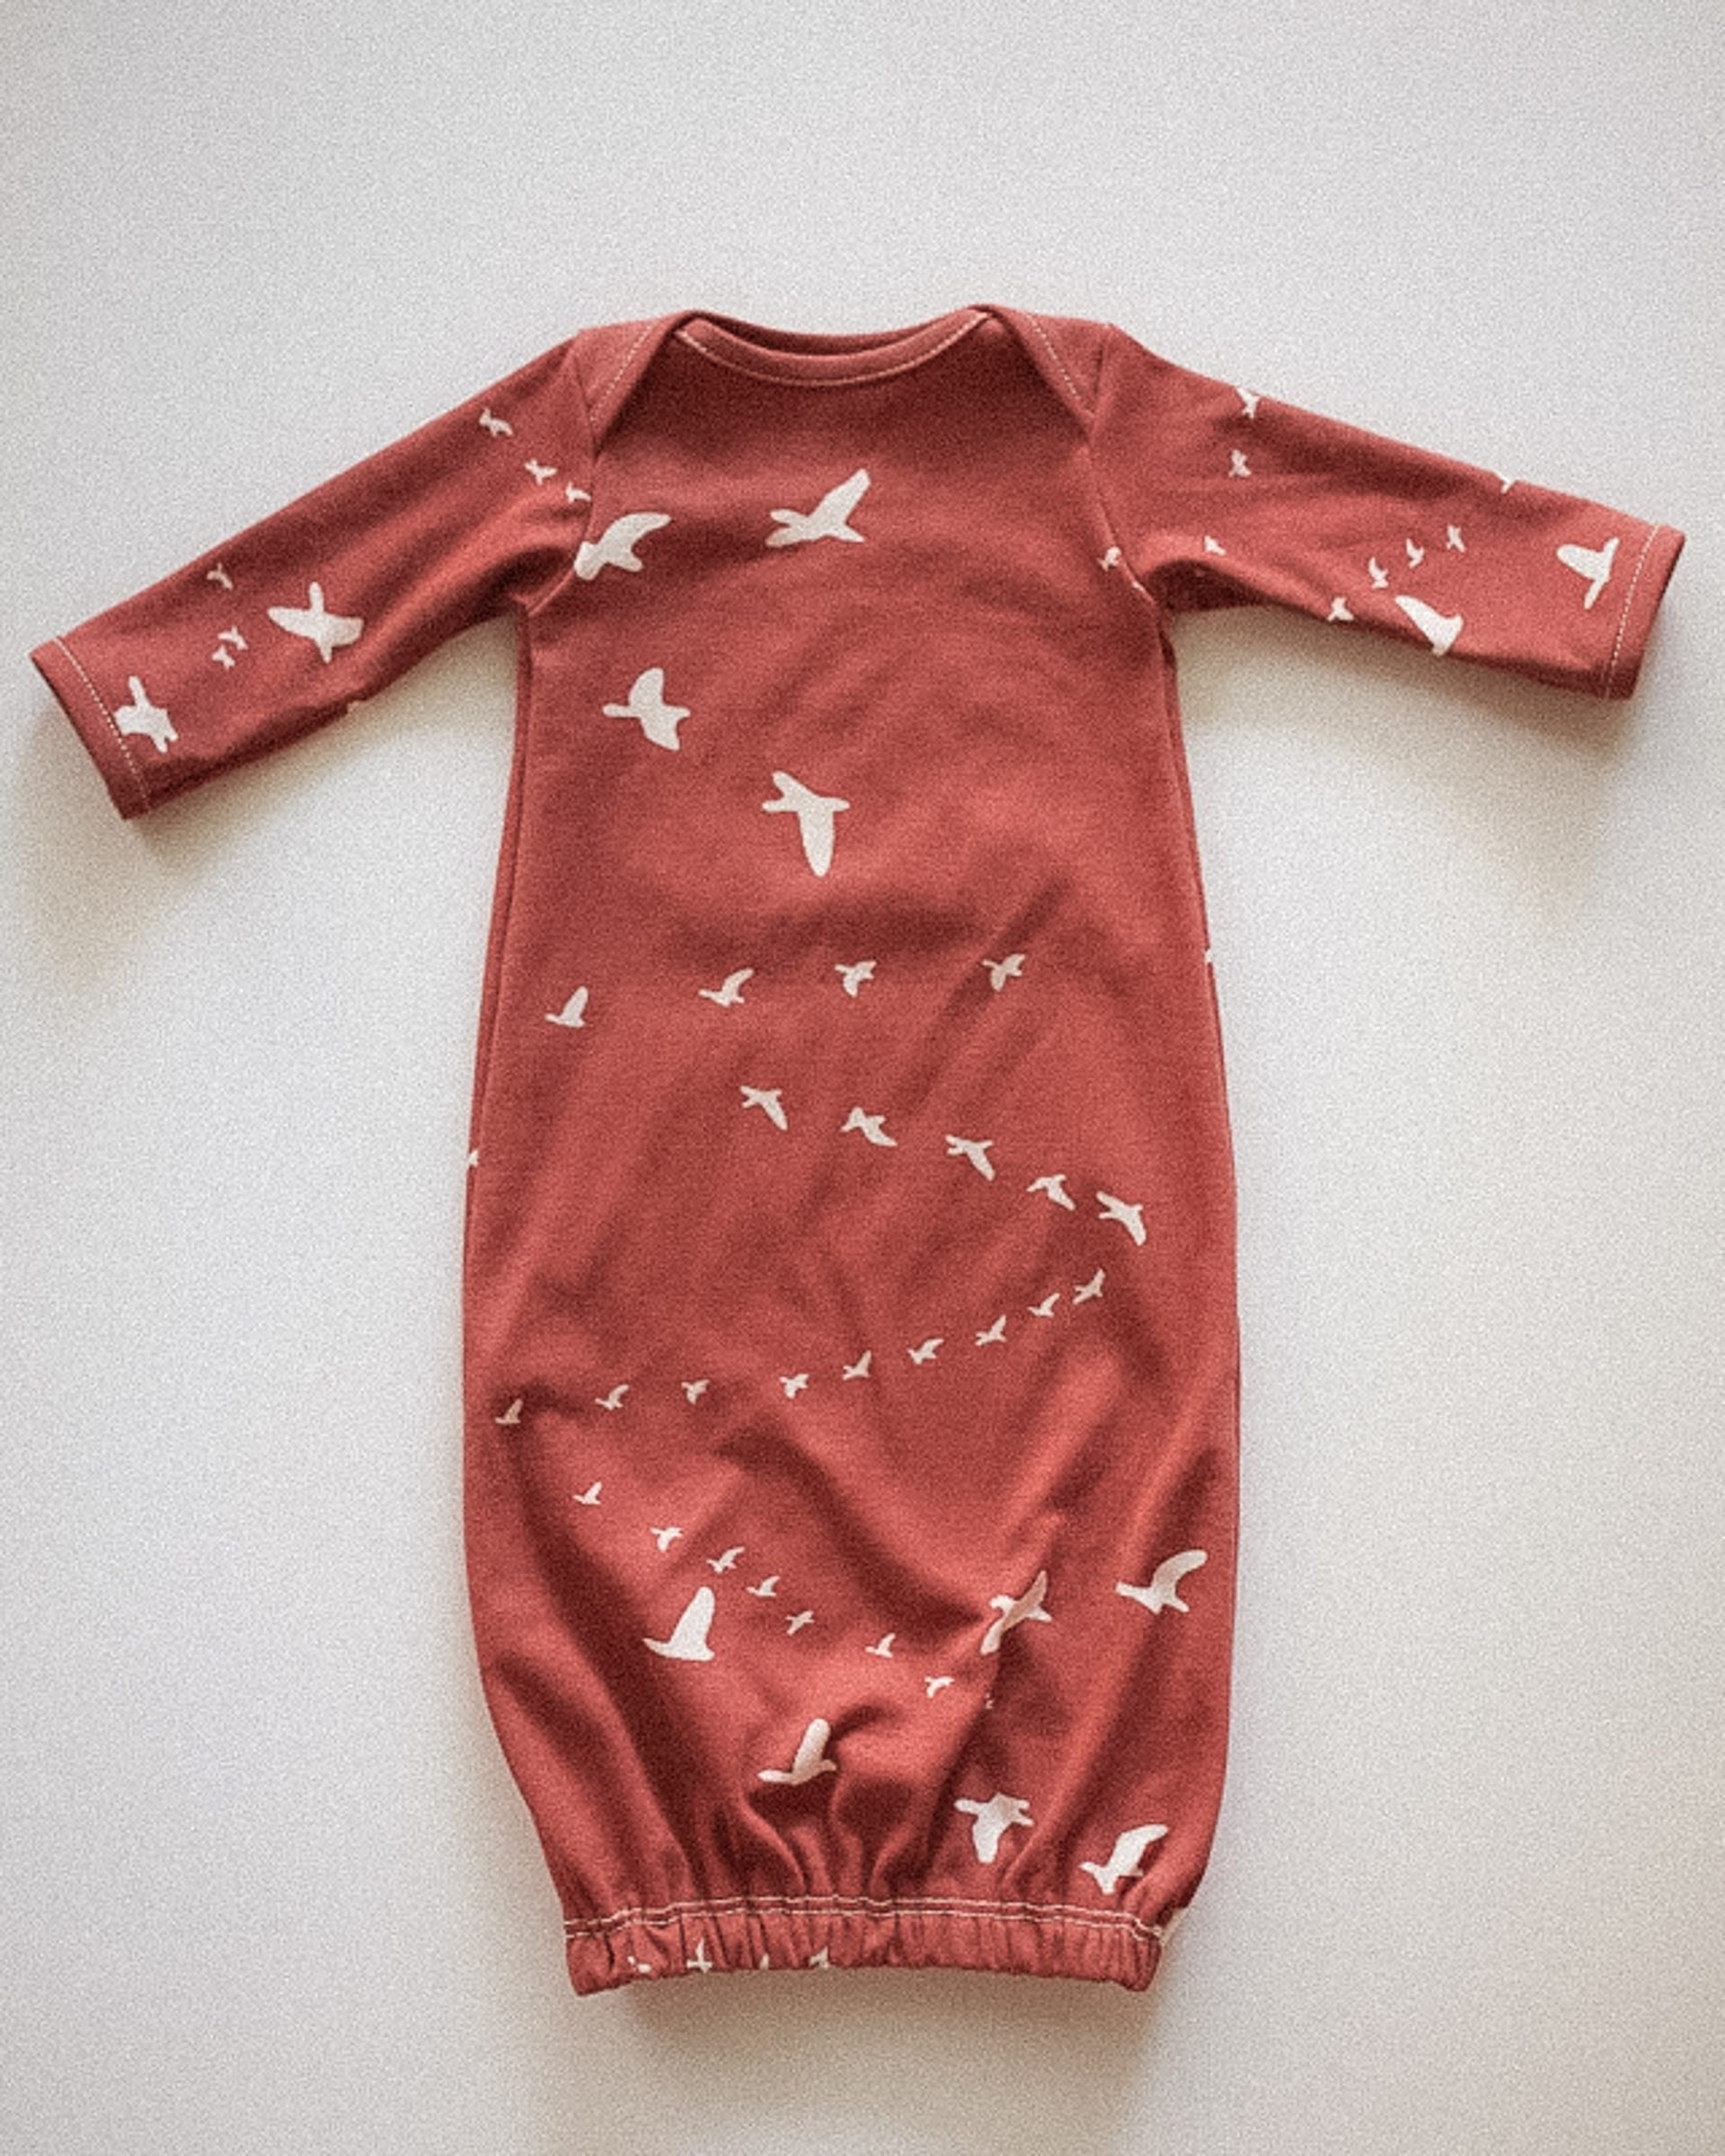
And there you have it: your finished newborn gown!

Thank you for sharing! My teenage daughter has been making swaddle blankets with newborn hats and/or headbands for new babies at our church, and I think she would love to try something the next step up…this looks like a great idea for her.
So perfect for my little niece arriving this fall!! 💖